Denim needle cushion DIY
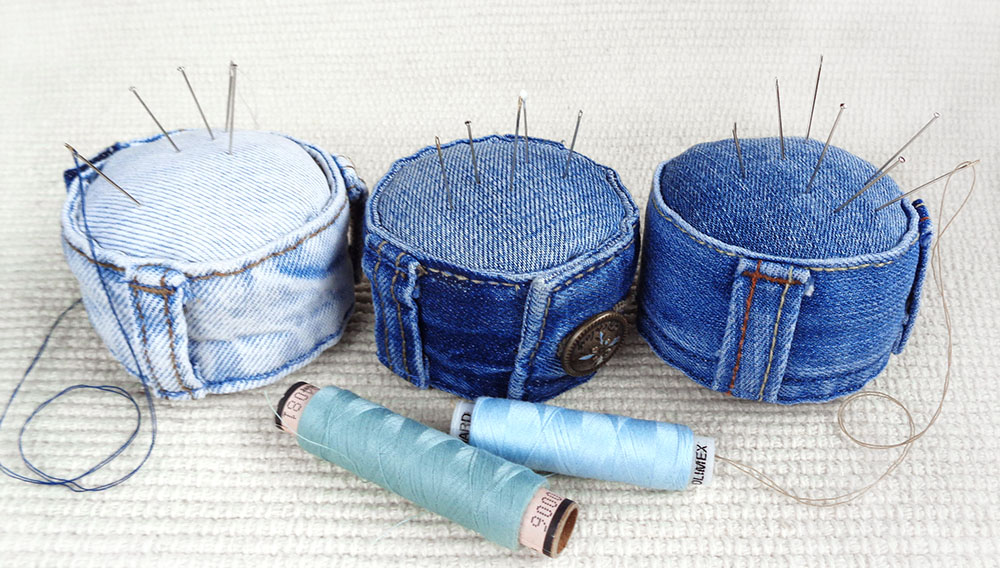
Are you into sewing, embroidery, cross-stitching or other needle craft? Here is an idea for a perfect gift to your precious self! Adorable little helper is a must-have in your craft room! Upcycle jeans waist band into a cute denim pin cushion with this free sewing tutorial.
To make this pin holder we do not need a sewing machine, it is all sewn by hand. So you might need a thimble. Choose jeans that are not too stiff or thick for your needle to go through easier.
This sewing project might look simple, but it is rather for experienced and capable fingers, beginners might find it too fiddly. It is mainly hand-stitching and seam ripping 🙂
Three options for a button
Obviously we will use an old jeans waist band for this needle cushion. The waist band has two ends – one with a button and another with a button hole. There are three options for us to use those ends. #1 Use the button end with the button in it. #2 Use the end with a hole and add a button to the other end by cutting a button out (from another jeans if it’s prettier) including some fabric just enough to reattach it to the band. #3 Use the button hole without any buttons. All three options are shown below:
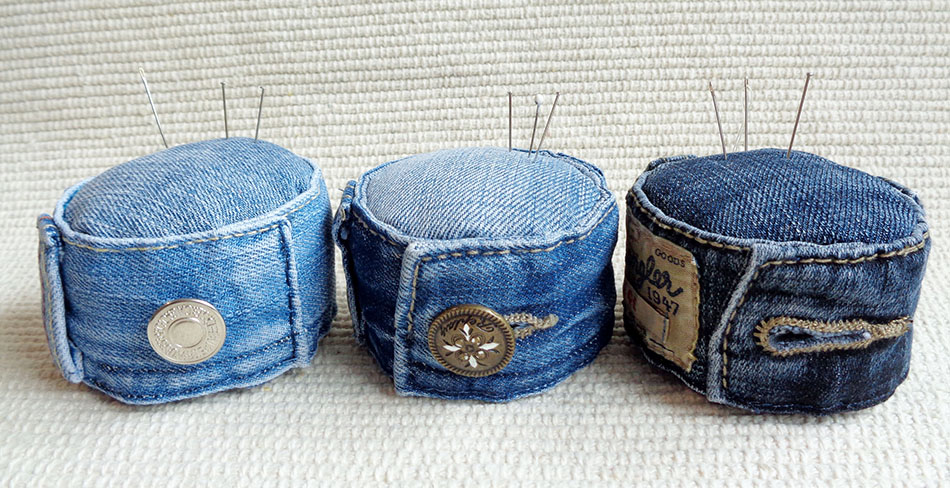
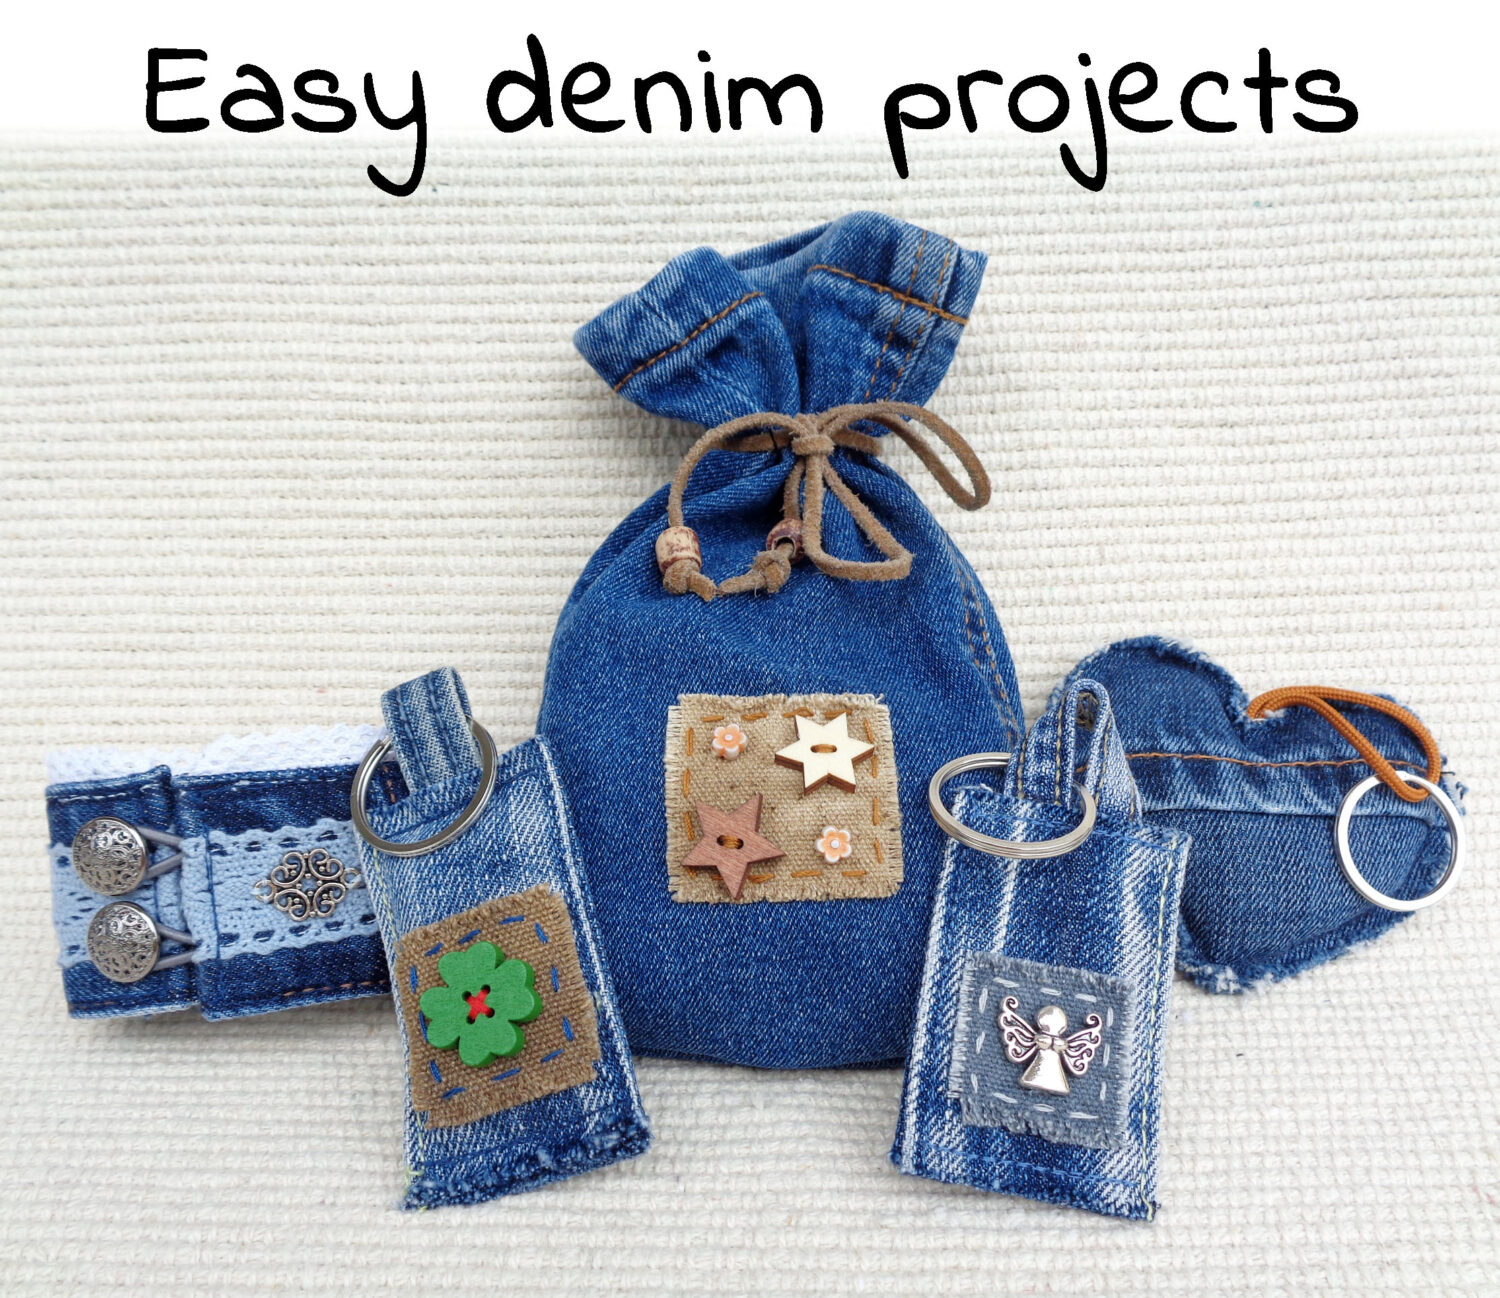
You can make two cushions from one jeans waist band. And whatever is left from the jeans waist band can be used to make bracelets or keychains 😉 Free sewing tutorials are included!
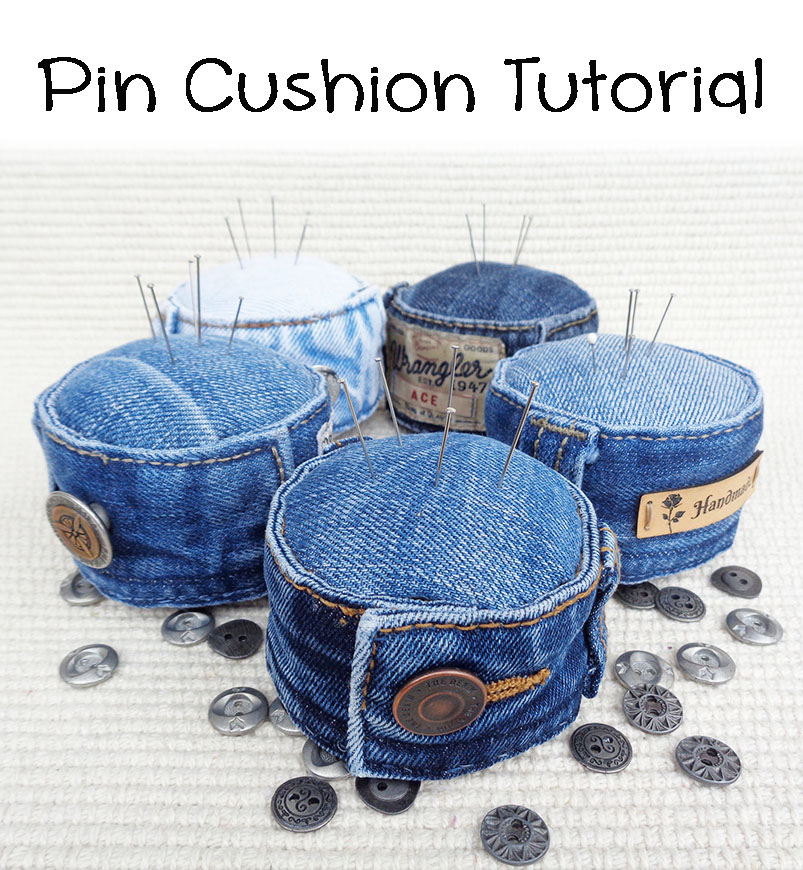
Preparations
To make this denim pin cushion you will need: a strip of old jeans waist band appx 23-25cm (9″-10″), two pieces of denim appx 10cm (4″) in diameter and some filler.
Pip all the stitching at the lower side of an old jeans waist band and remove the waist band (or at least 23-25cm (9″-10″) of it) and remove all stitches around the end with a button or a hole. It’s quite a bother, but seam ripper helps a lot!
Remove the lower ends of belt loops. The belt loops can be removed easily and pain free as in this video:
Roll the waist band into a circle to see the exact size you want it to be. Including some overlap cut the length to the desired size. If you are planning to add a button to fasten to an existing button hole then remember to leave enough overlap to stitch the button onto it.
In my case I have the strip 22cm (8,5″) plus overlap appx 2,5cm (1″). This make a circle with diameter 6,5cm (2 3/4″). But you may wish to make it larger.
Once cut the the exact size, cut off some denim at the back at both ends to have less bulk when rolled up:

Other belt loops that didn’t fit into the strip can be removed now and added later.
Decorating
It’s time to add décor to your DIY denim pin cushion, but first stitch along to close the open long side. To decorate you can use small labels, buttons, beads. Add the button for fastening to the other end, if this is your chosen option (see picture below), it doesn’t have be neat as it will hidden under the the other end.

If you are adding/keeping belt loops you will notice that they are longer than we need. Cut off excess and fold inwards to align with the long edge and stitch them on, as on the picture above.
Sewing the pin cushion
Roll up the band and secure into the position. Stitch along the outer overlap to secure in place:

Place the ready “bracelet” onto a piece of denim and draw exactly around it. It doesn’t have to be perfect, it’s just to get an approximate size. Then draw a bigger circle, measuring appx 2cm away from the first one. Cut out two of those larger circles.

Just for reference, for my pincushion here I am using two large circles of 11cm (4 1/4″).
With a needle and thread simply gather the sides of the circle, leaving appx 1cm (3/8″) seam allowance. Make just enough gathering for the raw edge to be looking upwards or just slightly inwards:

Fill it up with synthetic fibre. Spread the filler towards the sides rather than the centre, try to make this cap as flat and wide as possible. Place the cap into the “bracelet”.

At first it will not look as flat as we would like it, so start fiddling with it, spreading fluff towards the sides. You can see that on the inside there are some places with more gathering – try to spread those folds evenly around the whole circle. Add more filler, spread it again, play with it until you get more or less neat cap. This side can be the top of the pin cushion, let it be slightly puffed.

Hand-stitching the cap
To stitch the cap in place we will use a “ladder stitch”. I hope I showed it clear on the picture below, but I have also made a video (sew below). So you go through the side first, then poke into and out of the cap, then into and out the side and then repeat. Because there are no guidelines or anything, don’t rush, aim to stitch the cap evenly and into the position it should be. Try to catch fabric of the cap a tad lower than it feels convenient, this will make it less tense and gives more freedom for making it into a neat circle as you go.

Here is the video:
Gather up the second circle to make the second cap. Make the gathering tighter, so that the raw edge looks more towards the centre, more gathered than the first cap. Fill it up with filler. Spread it around and press the sides inwards to make the cap as flat as possible, maybe even iron it on the top side with folds underneath. This can be the bottom of the denim pin cushion and it is better if it’s flatter than the top.

Fill up the nearly ready pin cushion with more filler. Try the cap on. Add or remove filler to make a good sturdy fill, but not too much as the cap will keep popping off and will it be hard to keep in place. Hold the cap in place with clips.

Repeat the “ladder” hand-stitching for this cap as you did for the first one.
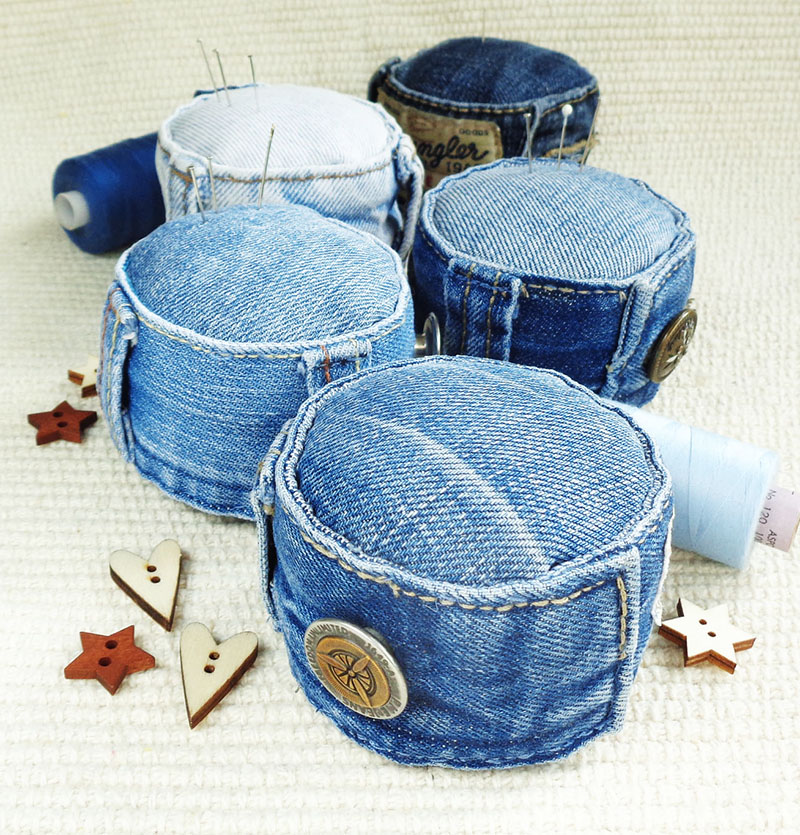
And you are done!!! I hope you have enjoyed sewing with me! Check out other stuff you can make from old jeans!
Hoi Kat, wat een mooie tutorial heb je gemaakt! Ik maak zelf ook veel dingen van oude spijkerbroeken. En ook speldenkussentjes. Mijn speldenkussens maak ik met de blikjes van tomatenpuree. Deze hebben daar de perfecte afmeting voor. De rand beplak ik met spijkerstof en versier ik op allerlei manieren. Een leuke versiering langs de rand maak je met de ene helft van een ritssluiting. Het kussentje zelf maak ik ongeveer hetzelfde als jij. Als vulling gebruik ik staalwol, dat houdt de spelden scherp. Ik naai het om een kartonnetje met dezelfde diameter als het blikje, dan heb je een betere vorm. Op de bodem van het blikje plak ik een stukje piepschuim, anders zakt het kussentje zelf te diep in het blikje. Op het piepschuim plak ik het kussentje.
Je mag deze ideeën gerust gebruiken voor jouw tutorial. Ik heb geen eigen website. Groetjes, Ans
Hello, Ans! This is a very interesting ideas you have! Can you send me some pics to makeitindenim@gmail.com I am very interested to see that.