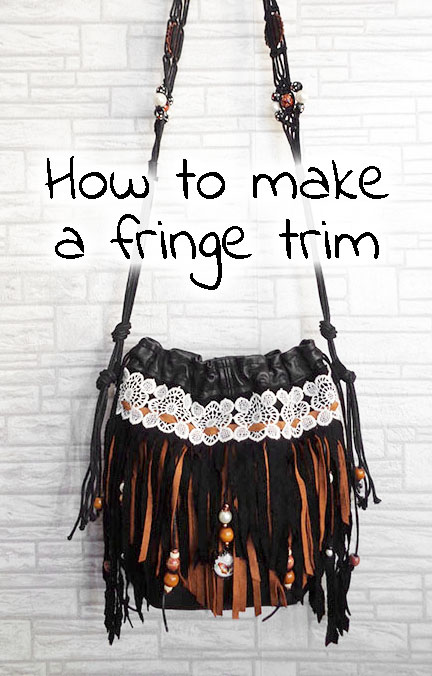
How to make and add a fringe to a handbag
Fringe trim makes any handbag to stand out. It adds a lot of hippie or western look, or it can be grungy too. It’s a lot of fun to make and quite easy too. Lets take a look how to make and add a DIY fringe trim to handmade bag.
There are tons of fringe trims sold in craft shops, surely they are pretty and loads to choose from. But sometimes a handmade one looks as good or even better! So let’s DIY with this free tutorial.
Working out the size
According to the size of bag decide the shape and the size for the DIY fringe trim. It should fit within the body panel of the bag width wise. The width of the fringe – is the width of the bag.
Other than that no further requirements – just your own judgement and availability of fabric. The fringe can be short or very long hanging lower than the bag, it can be straight, curved or pointy.
Talking about the availability of fabric, I have to mention that depending on the fabric texture, sometimes the strands appear to look better when cut diagonally rather than straight. See further for details.
If you are planning to make a fringe levelled with the bag’s bottom and there are darts which will form the bottom of the bag – make the fringe end just above those darts.

How to make DIY fringe trim
Fringe is very easy to make, especially if you have a cutting mat and a rotary cutter. If you do it with scissors, it will also work, but takes longer and you have be super accurate.
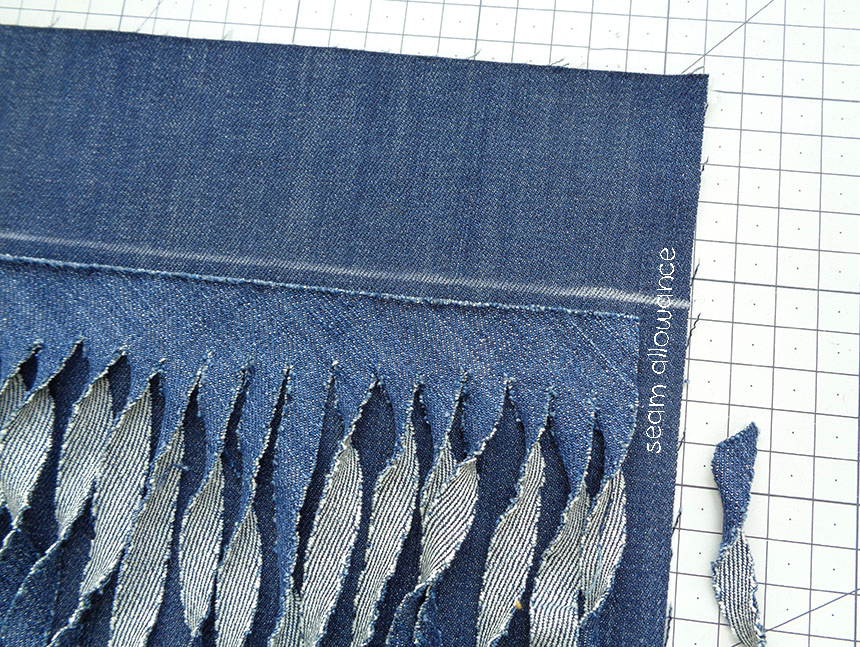
Mark a line at the top to be your guide where you should not cut. Simply cut along aligning a ruler with the grid on the cutting board. For leather a good width would be 0.7cm (1/4″), for other fabrics it is better be slightly wider – 1cm (3/8″).

Try different fabrics and directions
After doing a few experiments, the best fringe trim seems to be the one made from real leather (and some types of faux leather). It’s soft and easy to cut, strong and doesn’t fray. However this option is not always available or preferred, also you can’t wash leather. So let’s see which other fabrics can work.

For instance, jersey is quite good, it’s not fraying. Funny enough, different jersey fabrics work differently. On one of them strands roll into tubes after wetting, and on the other they don’t.

Some fabrics are better cut straight and some – diagonally. Also some fabric fringes (like denim or corduroy) are needing a wet toss to achieve it’s best look. It is always good to experiment on a small piece before making a full thing.

It’s quite a good idea to toss the sample fringe in water and dry to see what it looks like before attaching it to a bag. A handbag will be washed one day and you better know in advance how this will affect the fringe.
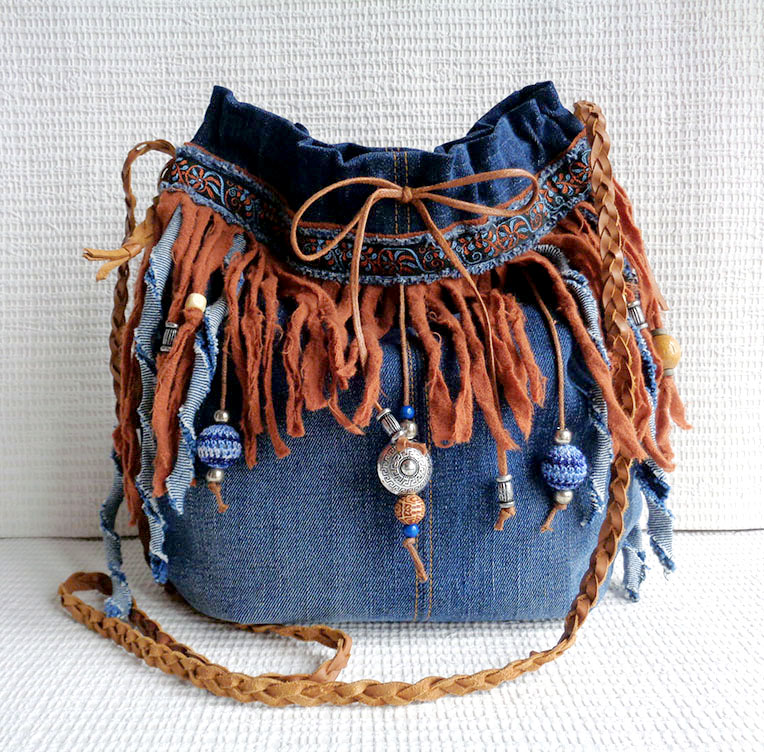
Fringe made from jeans
DIY fringe trim made from old jeans can not be any size, but what fits into the jeans pieces we have. I have tried to make a denim fringe cutting the strands in three different directions. I don’t exactly like both the straight cuts on denim, I think it looks untidy.

The DIAGONAL cut is my favourite and works the best but it is most limited on size! The top line of the fringe have to be diagonally cut within the denim piece and then the rest of the fringe will be triangle. Not much choice or space.

To achieve the twisted look toss the cut fringe in water and hang to dry in a neat way, letting the strand hang down just as they wood later on a bag. The fringe will stretch a bit after that, so cut the sides off as described below.
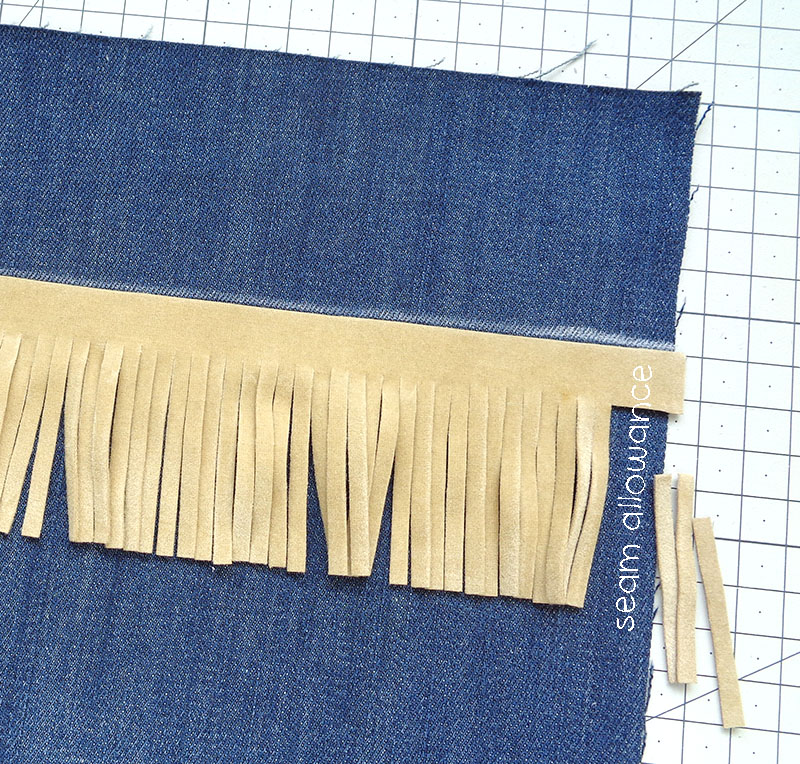
Sewing the fringe in
First of all work out and mark the horizontal line for the fringe to be placed.
If you are not planning to add a trim to cover the top of the handmade fringe, keep the fringe the same width as the bag, including seam allowances and cut off a couple of strands so that they don’t get in the way later when sewing the sides of the bag:
If you are planning to add a trim, the fringe can be smaller width wise than the bag:
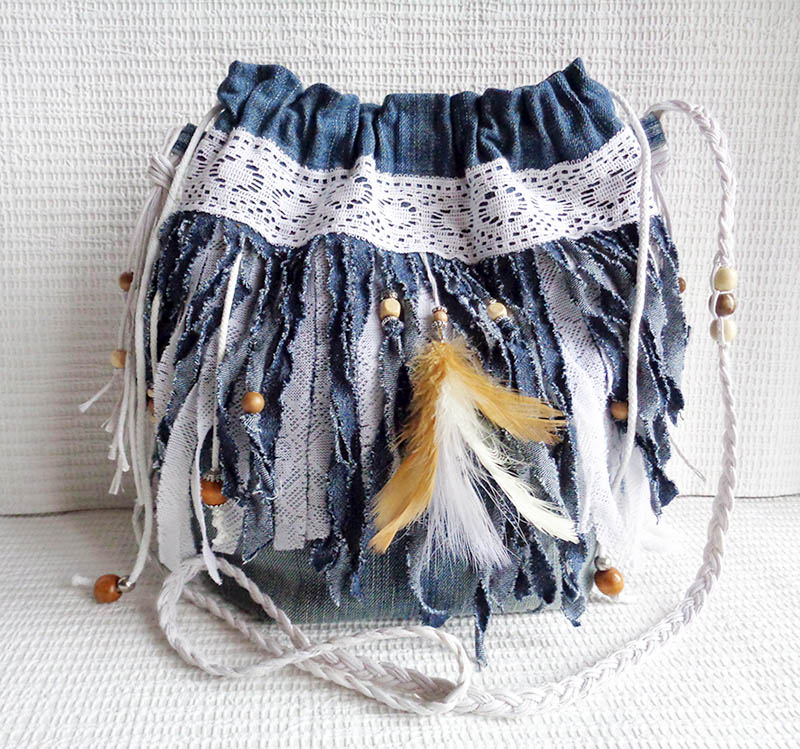
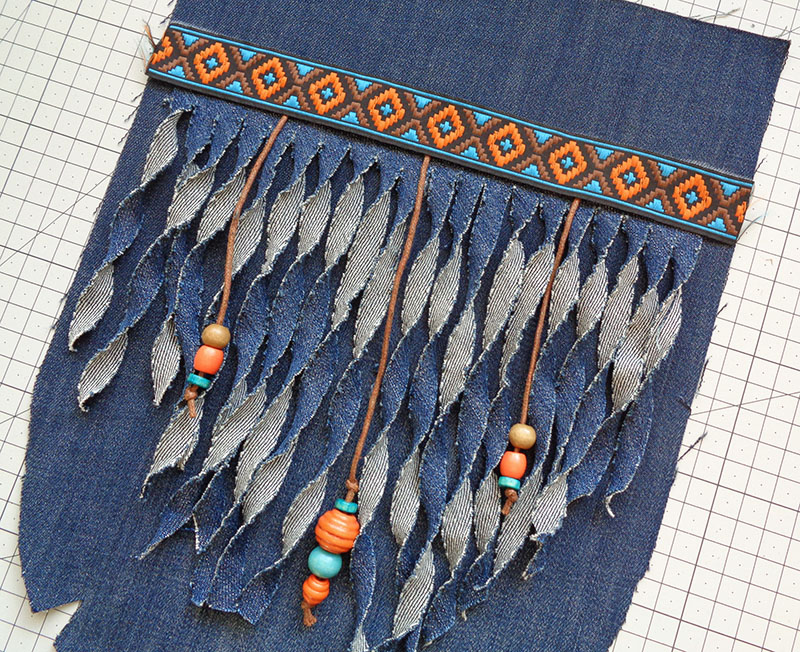
Adding more décor
Of course the bag with just a fringe will look good, but how about adding some more stuff? This is the fun part!
You will surely need a decorative ribbon or lace to add at the top of the handmade fringe (the top edge is very likely not looking as good as bought one). And think about some beads for the ends of the draw string at sides. And how about using the same beads and the same string to add more colour and charm as individual strands?
You can also make two fringes of different sizes and overlay them.
Prepare everything at once. Handle strap, draw string, beads, ribbon. That way you can match everything for the best result!
Sew on the fringe with all the additional bead strands.

Did you know that if the string’s end is frayed and doesn’t want to fit through the hole in a bead (even though you see the size is right), you can dunk that end into melted wax, press it to make a tidy end which will easily go in 😉
Once you have done with all the decoration additions, sew the trim on top to cover up all the disarray and the body panel is ready to be sewn into the bag!
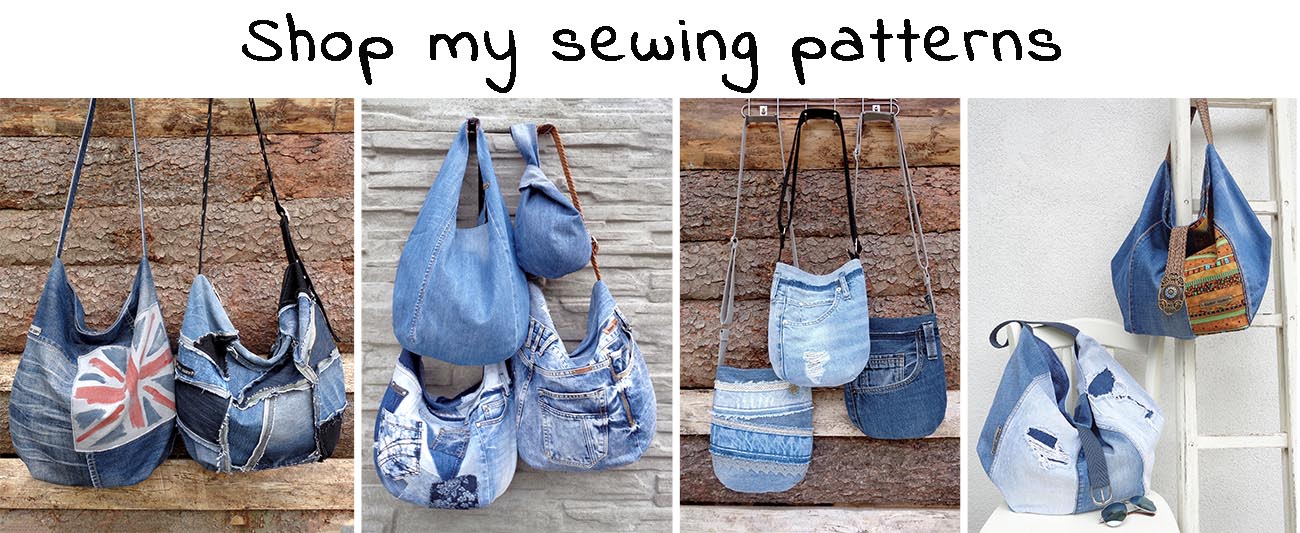
I think that was fun 🙂 Great décor element for a summer bag. By the way the full pattern for a bag like this is here >>>

Have you enjoyed this tutorial? Was it useful for you? If you are thinking how to thank me, you can buy me a coffee. This is how I keep this website adds-free!

Now you know how to make and add a fringe trim to your handmade bag, give it a go and share it on Instagram, tagging me @makeitindenim, so that I don’t miss it! I would be happy to include your creation in the Student’s Gallery too!
More fun lessons can be found here >>>
Hola! Te escribo desde el Departamento de Prensa y hemos visto tu negocio como una excelente oportunidad para ser destacado en noticias.
Al ser presentado en más de 60 periódicos digitales de alta autoridad, podemos mejorar la reputación y el posicionamiento de tu empresa.
Además, cuando tus clientes busquen información sobre ti, verán tu relevancia y preferirán elegirte por encima de la competencia.
¿Podrías proporcionarme un número de teléfono para ofrecerte dos meses gratuitos?
Gracias.
Hi! I looked at your website and it’s all in Spanish…
I’m very excited about your pattttns and the easy way you instructed us to make fringes. Thank you. It’s really great!!
Thank you, Cathie! I am so happy to be helpful!