Reusable eco-friendly gift bags DIY
We all love the denim special look – such as washed hems and double seams. These eco-friendly gift bags made from old jeans keep the unique character, they are very stylish and (also very important) are eco-friendly! People can use them and reuse them!
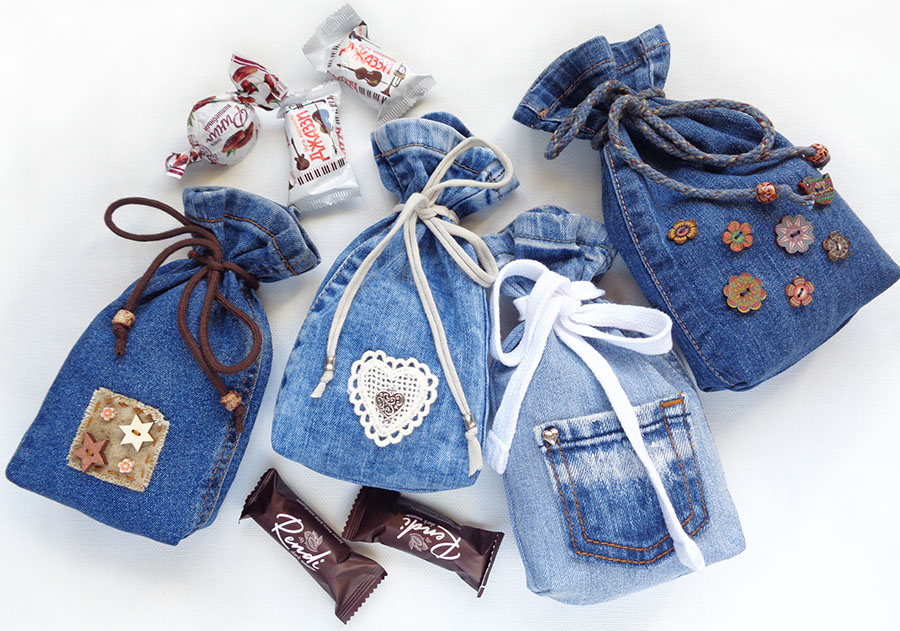
Skinny jeans that are no longer wanted is a very good source for this project. Or some kiddies jeans with ripped knees, which are not good even for charity. Or may be you have cut some old jeans to make denim shorts and have some legs left?
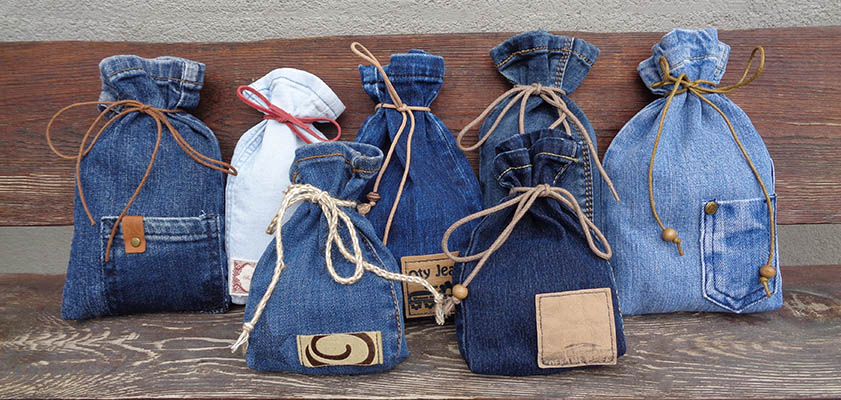
Christmas or birthdays, there is always some wrapping to do. These recycled Eco-friendly gift bags bags made from old jeans are a stunning way to wrap small items such as sweets, watches, jewellery, soaps, candles, socks…

They can be used not only for gifting, but for stashing something else. A larger bag can be made with a wider jeans leg and maybe pyjamas can be gifted and stored in it. I bet teens would love such a trendy storage bag.
Check out some other ideas for easy and eco-friendly DIY gifts >>>
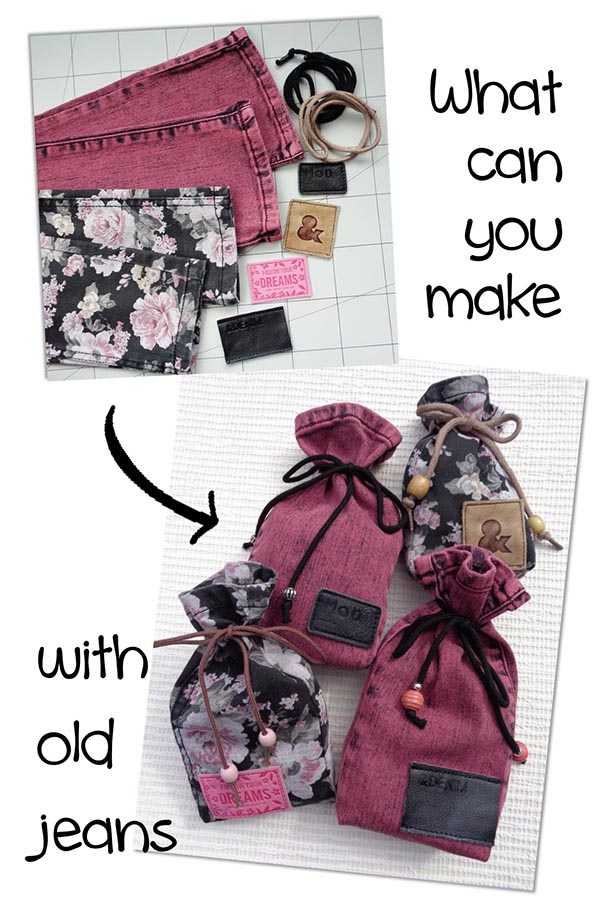
What you’ll need to make eco-friendly gift bags
DIY reusable gift pouches are very easy to make with this free sewing tutorial. You will need some jeans legs and a string of 50-80cm (you can use a shoe string). And, if you want, some decorations – labels, beads, buttons…
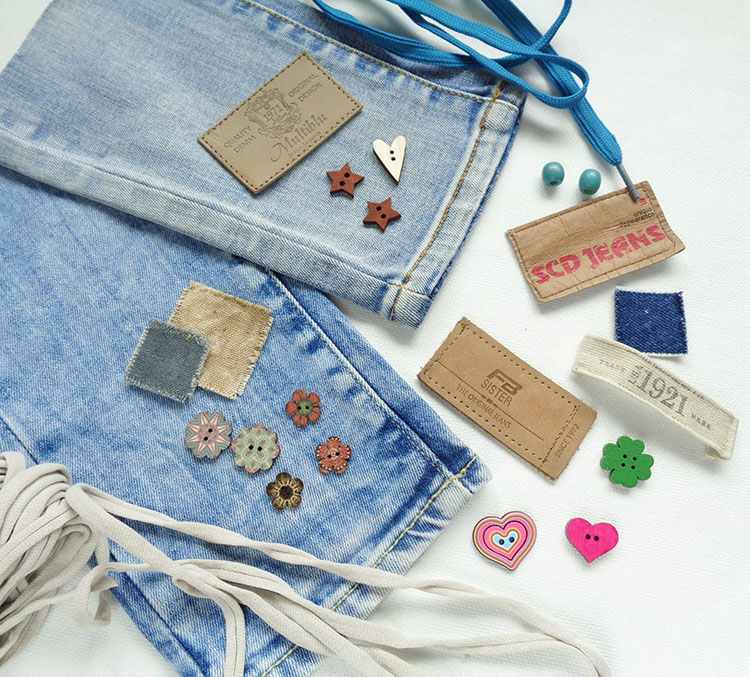
By the way, before using old jeans for crafting it is important to wash them in a special way. Read here how to eliminate any dirt and odour. If these gift bags is all you are making, cut the legs off so that you don’t have to wash and dry the whole pair of jeans.
Cutting and sizing
If you are making small gift bags, like mine here, you will need narrow jeans legs.
All jeans are different and there is no exact size can be given. The only thing I can mention is that for smaller bags of width between 10 and 15 cm, the length will be around 20 cm. For slightly larger bags – 25 cm. This is just approximate and you will follow your common sense.

Put the leg piece infront of you and tie a string at the top to judge what height and décor you will want for each bag. Don’t forget also that there will be corners added and some height will be eaten up slightly by added dimention.

Mark the desired length. Untie the string. Cut the bottom in a straight line. Some jeans legs are rather trapezoid, not a rectangle. In this case judge your best, in most cases align the bottom with the top line (the hem).
Decide on your strings and other decorations now, before you sew the bottom up.
Decorating
Plan out the decor and the strings.
Plan your décor elements at the lower part of the bag but not lower than 2-3 cm from the very bottom edge. Stitch by hand or glue on the décor which you have chosen.
Decorating with jeans label
Labels and pockets are much easier to sew on on larger leg pieces. When the jean leg is narrow, it might be quite tricky to stitch a label or a pocket on. You will have to pin the label and scrunch the back side of the pouch away from the front side to enable your sewing machine to sew onto the front only.

With wider legs (bigger gift bags) it’s easy, but working on narrow legs (smaller pouches) it’s harder. If you are an experienced sewer, you will not need all my instructions, but if you are a beginner and love to learn, check out this video, how I do it.
If you see that the label keeps running away from it’s spot while sewing, try gluing it on first. School white glue is good enough for this case, but it washes off, so you’ll have to stitch the label anyway. Let the glue dry, then stitch.
If you are still not managing with stitching those labels on, just stitch it on by hand. Or glue it on with a glue which will withstand washing (we want our bags to be washable and reusable), for instance tiny super-glue, it’s sold everywhere.
And it’s a good idea to insert a piece of plastic bag inside of the leg so that glue does not leak to the back side of the bag ;).
Decorating with pockets
If you are planning to use jeans pockets, cut around it as near to the sides as possible. And then cut out the insides.

Watch out for the studs on those pockets!
If you can, use the pockets which have no studs. If you have pockets only with studs, then it’s better to stitch those on by hand (as it’s too much trouble and danger to sew around studs by machine). Thimble helps a lot when hand stitching denim. More about jeans pockets here >>>
After all, the eco-friendly gift bag without any additional décor looks good too! The jeans character is kept within its washed hems and double stitched side-seams. Can’t beat the denim chic!

Sewing the bottom
Once you are done with the decoration job, or decided to have none, it’s time to sew the bottom up. First, turn the pouch inside out and level the side-seams, remember the front of a jean leg is narrower than the back, so in most of the times you will have both side-seams on the front. Or, if you feel it’s right, have one side-seam right at the side and the other one – on the front.

Stitch the bottom with 1 cm seam allowance. Then zigzag-stitch or overlock that edge.
Refold the corners in such manner to be able to stitch the corners perpendicular, just as you do for a tote bag or a makeup bag to make the 3D shape. Stitch perpendicular approximately 2 cm from the very corner. If you wish, cut off and overlock the corners too.


Turn back to the right side and admire 🙂

Attaching the string
As I have mentioned, you need a string between 50 and 80 cm. You can use a shoe lace! They are easy to buy and come in different thicknesses and colour.
Decide how far down you wish your string to be by tying it around the bag. I’d advise 3-5cm down from the top hem. Place the middle of the string onto a side-seam and, holding with fingers, place under the machine foot and stitch back and forth a couple of times using short stitches. Make sure you are not catching any other denim while sewing. In any case, you can stitch it by hand.

Done! Great job!
I hope you had fun sewing this reusable, recycled, eco-friendly gift bag!

Making new things from unwanted stuff is so important! Take a look at the 10 reasons WHY to DIY from old jeans >>>

Making with denim is so much fun! Check out more gifts you can make:

when it comes to the bottom can you sew that by hand or do your have to use a sewing machine
Hi, Jennifer! Of course, it will be even easier by hand!