How to wash and store old jeans for crafting
Following the great eco idea of recycling old denim for crafting, we usually get the jeans from a second-hand shop or a car boot sale, or we use our family’s unwanted items. This means the jeans were worn and require a good preparation for their next life. How to prepare and store old jeans to be upcycled into cool funky stuff.
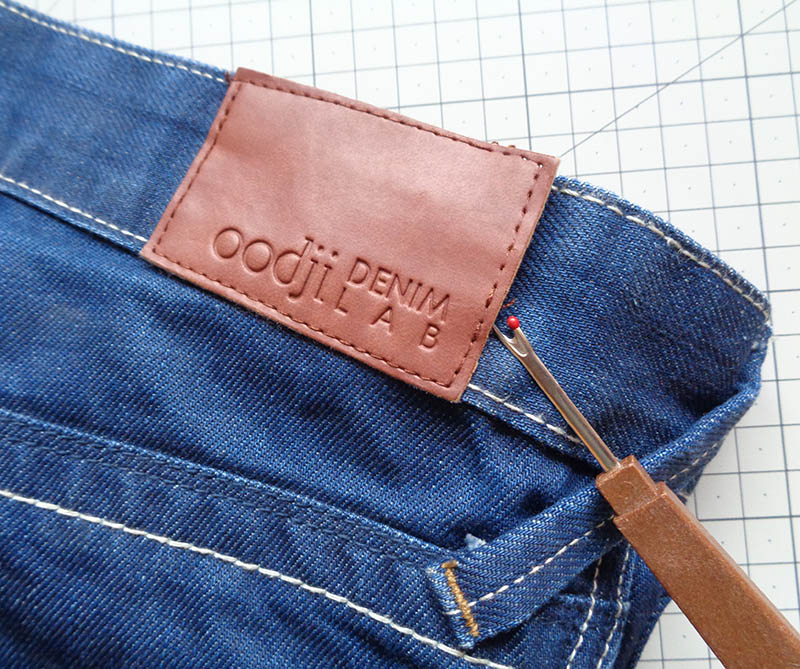
Removing the labels
Before getting the jeans wet, it’s worth thinking about removing the labels. Some labels are old and ugly, some are just not situated at the right spot when becoming a new item. Why is it good to remove labels before washing? Because underneath the label there might be some fluff or colour leak, which will wash off. And also because the holes left from stitching will mostly seal up in the wash. If there are colour staining left after wash (usually this happens when labels are real leather), you can always stitch the same or even a prettier label onto this spot later, if needed.
Washing and drying
Old jeans need to be properly washed first ready for storing and sewing. Most jeans have an unpleasant odour of wear or long storage. Especially if you got the jeans from a car boot sale or a second-hand shop, you’d prefer to “wipe off all the memory”, as I call it 🙂
A lot of the times the smell does not go away after a usual wash in a washing machine. The best cure is very simple and cheap – SODA. Sodium bicarbonate, commonly known as baking soda, does a super deep clean without damaging the fabric!
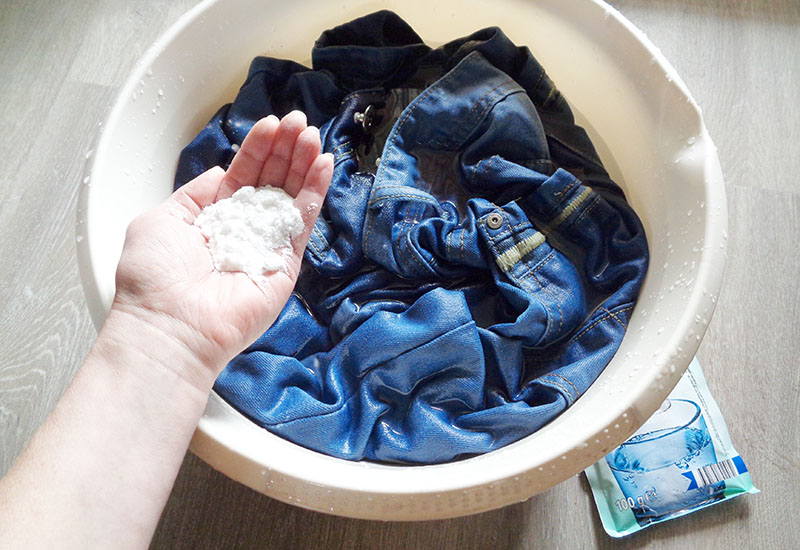
Put your jeans into a tub of water, add soda, toss and leave overnight. I have noticed that approximately one small handful of soda per one pair of jeans does the job perfectly. In some cases you will require more. After soaking a good few hours, let the water out and wash at 40C cycle in a washing machine with your usual detergent.
Soda seems to work well for yellow stains of heavily soiled jeans pockets and underarms on t-shirts as well. Pour it on the wettened stain areas, leave overnight and wash as normal. It is good to rub the stains too, getting the soda deeper into fibres.
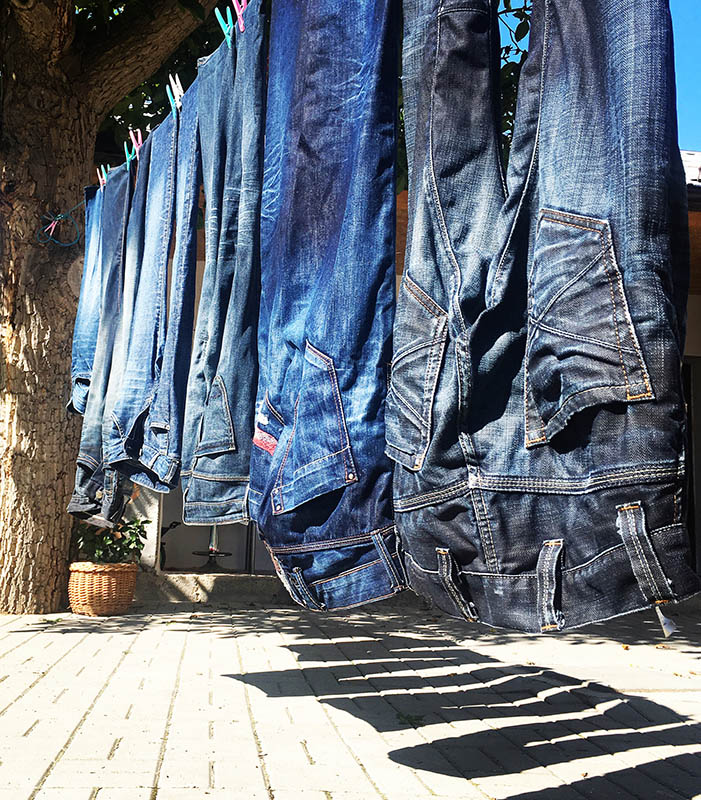
I don’t have a drier for my laundry, I prefer fresh air and sunshine 🙂 It’s very ecological and inexpensive way to dry your clothes. Hang the jeans upside down, peg only at the bottom edge of the legs, this avoids crumples and helps with ironing later. Actually, once the jeans are dry, they are quite flat and you can fold them for storage without any ironing.

Do not pre-cut jeans for storage!
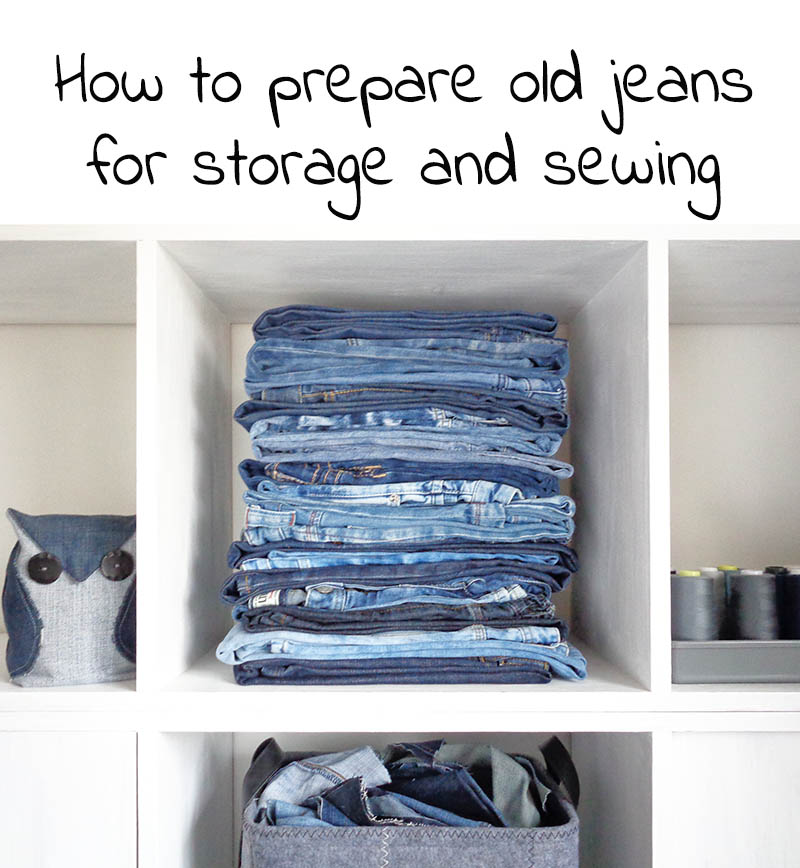
I have seen a few articles on Web about taking apart your jeans for sewing and storage and I absolutely disagree with them. Taking off pockets and waistbands is cutting yourself short on so many cool decorative details for your denim bags! If your project requires just plain denim (like patchwork), fair enough, you can cut off everything that gets in the way. But I am pretty sure, most crafty fingers will want to try and use all the variety of décor the jeans have already. And in this case – DO NOT CUT YOUR JEANS until you know what you will be making out of each pair.

Each pair of jeans and each denim handbag requires an individual approach. Even if you remove just a waistband you will loose so many opportunities of the bag’s décor! Let me give you some examples.
To make this tote handbag you will need the pockets and the waist band exactly as they are on the jeans:

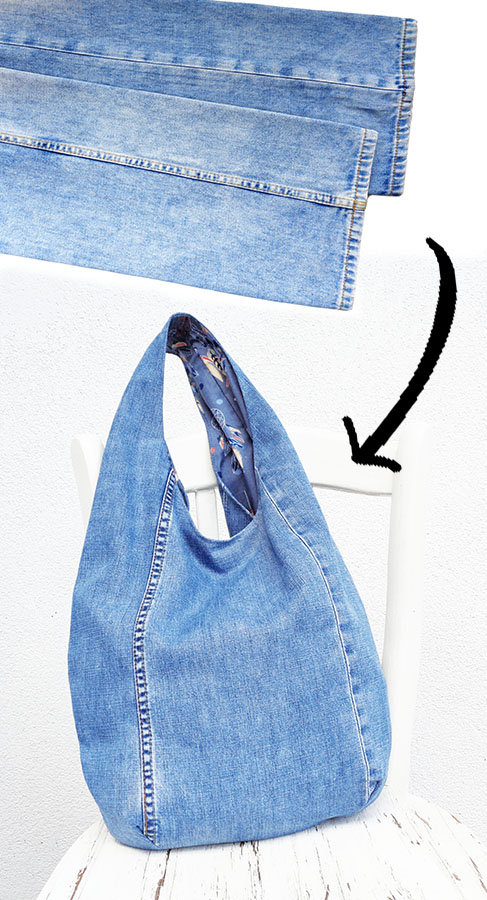
Some bags require ALL of the original parts of the old jeans. This bag uses the waist band, the pockets and the side seams. Nothing is removed here prior and the pattern pieces are cut upon the existing design as a whole piece:
This classy hobo bag would look too plain without the side seams! Fold it right and cut it right for the awesome look!
Other jeans parts to use
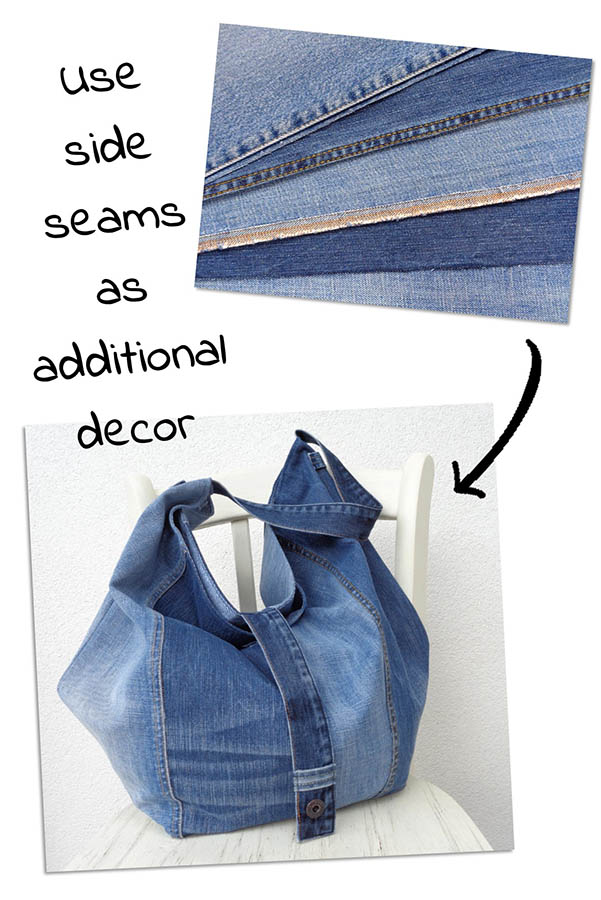
If using the bulky elements is too tough for you, the side seams of the jeans legs can be used to add the “denim character” too. There are different ways of cutting the legs next to the seams, so it’s better plan first and only then cut! Free tutorial on how to keep the original jeans seams for your sewing project is here >>>
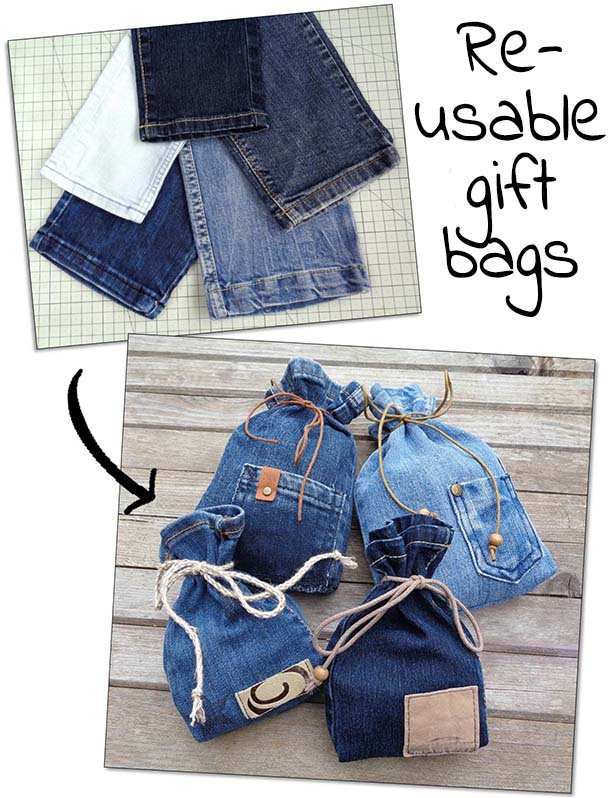
By keeping the bottom hems of skinny jeans you can get the authentic denim look for some reusable gift bags. Easy eco gift idea:
Using a waist band for a handle
In the case when the waist band is not used as a décor element, it can be used as a handle or a strap for your denim bag. There is also a very quick way to remove it. Watch the pain-free tutorial here>>>
Learn more about handles and straps for your handmade denim bags here >>>
Do not throw away leftover scraps
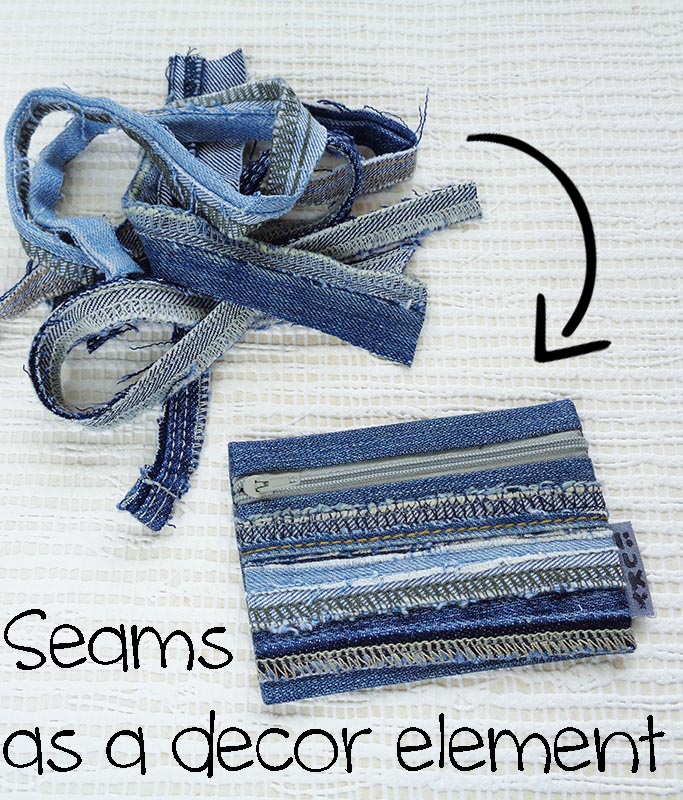
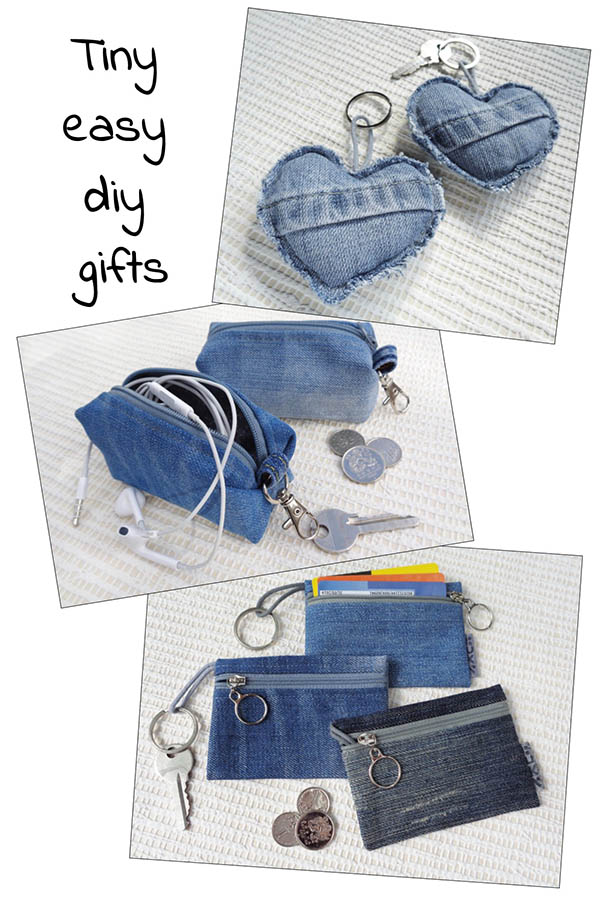
There will always be some offcuts with any sewing project you do. Don’t throw the scraps away. Those are really useful for making patchwork bags:
or for the small items, like key-chains or tiny pouches:
I hope you have learned something new today 🙂 Feel free to comment below!
For more lessons about sewing with denim check out this page >>>

There is so much stuff you can make using old jeans! Check out these ideas, most with free tutorials 😉



Good advice and useful ideas, thank you Kat.
Thank you! I am very happy that it is useful!
Very useful 😁 I would never have thought to use Baking Soda & leaving them soaking overnight.
Try it! 🙂
Fantastic information, I’m in love with all these x thank you x
I am happy to share! Hope you’d find useful more stuff on this website 😉
lindas, amei
me encantan las ideas alguna la llevaré a la practica
Thank you, Dori! I am glad you like it!
Your website will be my “go-to” site for recycling denim. I have more time now for sewing and am learning much here. Thank you!!
Thank you, Jackie! You’ve just made my day!!! Happy sewing!
Bonjour Kat,
Pourriez-vous m’indiquer comment retrouver le sens du droit fil dans une jambe de jean’s? Merci beaucoup pour votre aide!
Hello, Celine! Cut the jeans along the leg (not across) and pull some thread off at the edge of a cut (like if you are making a frayed edge) and you will see how the line goes 😉 But usually you can approximately see those lines.
Vielen, vielen Dank von dir kann man soviel lernen!
Danke, danke und noch einmal DANKE!
Hello, Eliana! Thank you so much for this comment! I am so happy to hear this!!!
awesome ideas thank you very much
Thank you, Judith! I am glad you like it!
👏👏👏Amo seus trabalhos e jeans reciclados🥰🥰🌹 Obrigada por compartilhar!
Thank you for the comment! It makes my heart smile!
Thank you, I just made some denim cut off shorts and have been looking for something to do with the left over legs. Perfect timing to make gift bags for Christmas! Love these tips
Hello, Joy! It’s time to make gift bags indeed! 🙂