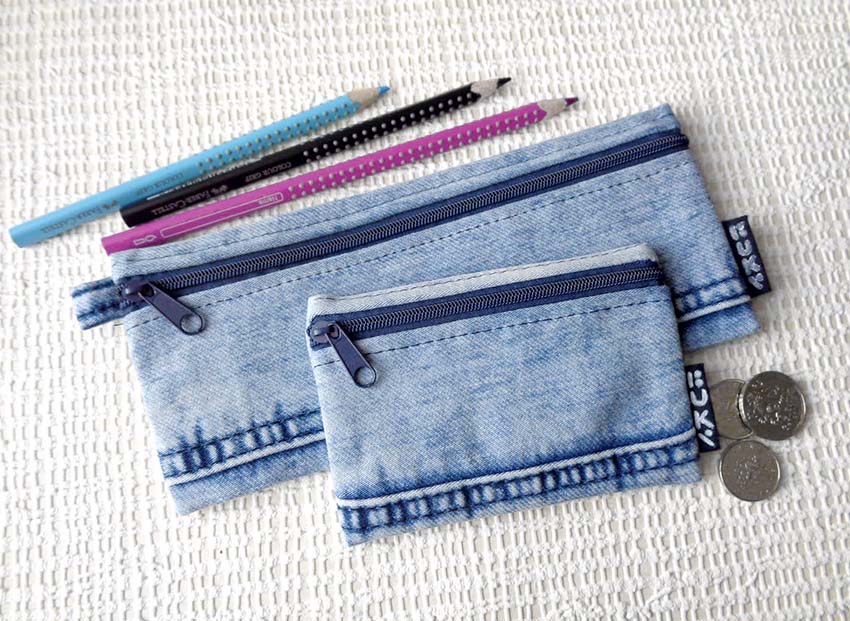
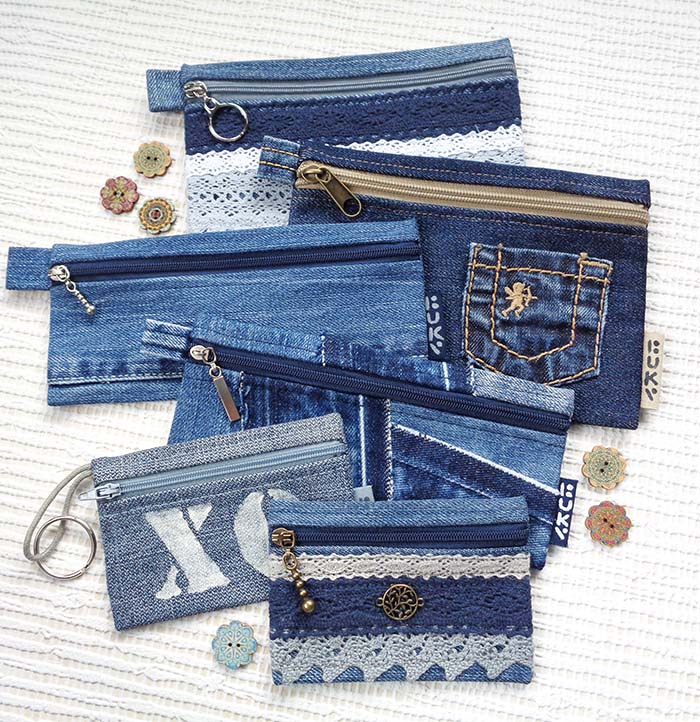
A flat zipped pencil case is very easy to make and is a great accessory for students, artists and anyone who loves to doodle.

How to make a flat zipped pencil case
A tutorial of making basic version of flat zipper pouch is here >>>. There is nothing complicated or different. But I still would like to mention some lining options which you can use with this pencil case or make up bag.
It can be made with just one piece of thick fabric or lining can be added for firmness. Also the body rectangle looks good made of denim scraps, as I will describe below.
This pencil case pattern is a simple rectangle. As for the ones on my pictures the size of the rectangle is 21x17cm (8 1/4″ x 6 3/4″). However slight variation of this measurements is ok.
The zipper must go to the longer side! So keep this in mind when choosing the design for the front.
The basic version without lining
The steps to make this flat zipped pouch are described very detailed in this free photo tutorial >>>. This is the most basic way of putting a zipper pouch together, there is no lining and no difference in sewing it except for the zipper – it must go to the the longer side of your rectangle for the pencil case.
The basic version with added lining
The same as with the above option, all it needs is adding an exactly the same rectangle of lining. Once cut, put the body piece and the lining wrong sides together and continue sewing as for basic zipper pouch >>> or the lined make up bag >>> treating both layers as one.

If you don’t like going from page to page to see all the options available for these zipper pouches, you may wish to purchase the sewing pattern where I have gathered everything about them in one place:
The patchwork version with lining attached
If you wish to sew a zipper pouch using denim scraps, you’d need to add another layer not only to have something to stitch all the scraps onto, but to hide the wrong side of the patchwork. In some cases, usually for small pouches, the lining fabric can play a role of a patchwork base as well to avoid too much bulk created by scraps+base+lining.
Out of the fabric which will be your lining cut out the exact shape for your pouch including seam allowances.
Lay some scraps onto the wrong side of the lining. Preferably lay grain lines parallel with future zipper line.
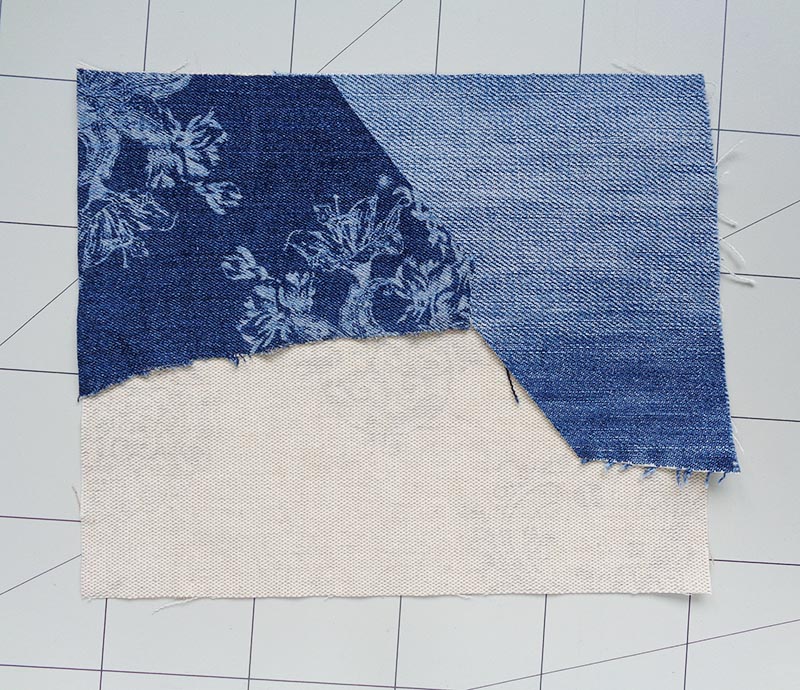
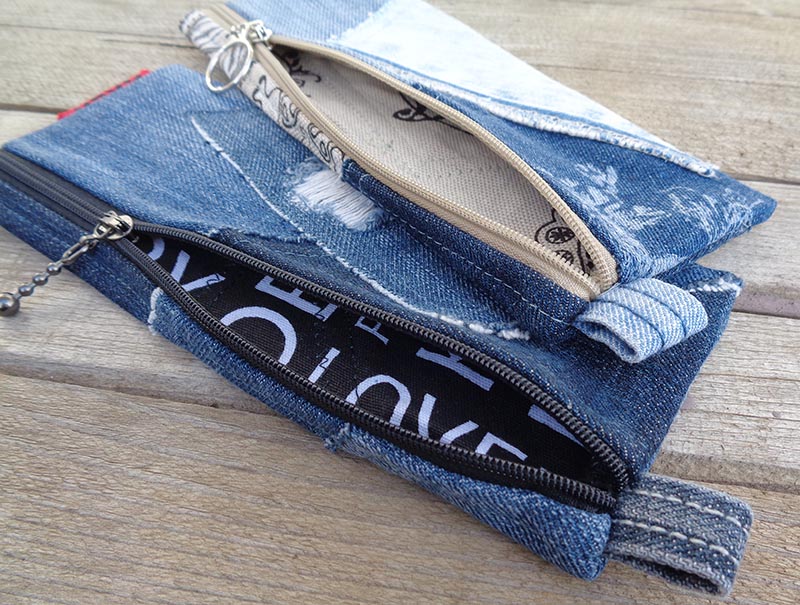
Keep in mind also that the flat zipped pencil case is narrow and the front of it is just about 6cm (2,5″) along zipper and the rest of this rectangle is folded under and over and becomes the back of the pouch. So when you are laying the pieces remember that your nicest scraps should lay within the 6cm (2,5″) along the zipper.

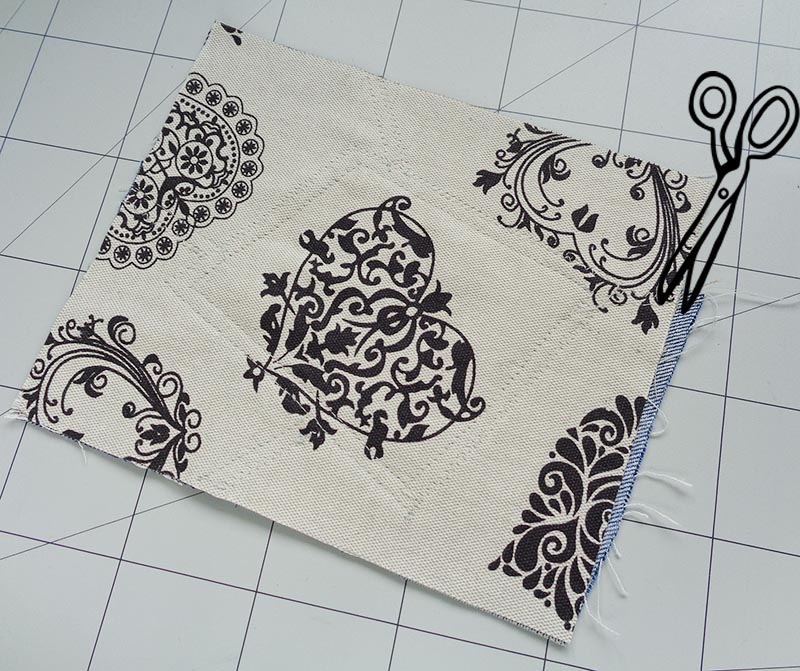
Make sure all the pieces overlap. In the easy patchwork lesson >>> I have a very detailed instructions about using denim scraps for making cool stuff. The scraps at all four edges can overhang for now, they will be trimmed off later. Pin and stitch on top through all the layers including the lining. For the bottom thread choose the colour matching the lining.
I stitch every visible edge of scraps twice – straight and zigzag. I describe how and why in the patchwork article >>>
Trim off anything larger than the lining, as it was our exact size for the pouch. As you can see on the picture above and below, the stitches are there but they are barely seen.
Finish off the flat zipped pencil case
Now the body piece is ready and you can proceed making this pencil case in exactly the same manner as the makeup bag here >>> or the zipped key pouch here >>>. Different options for a side tab are explained here >>>.
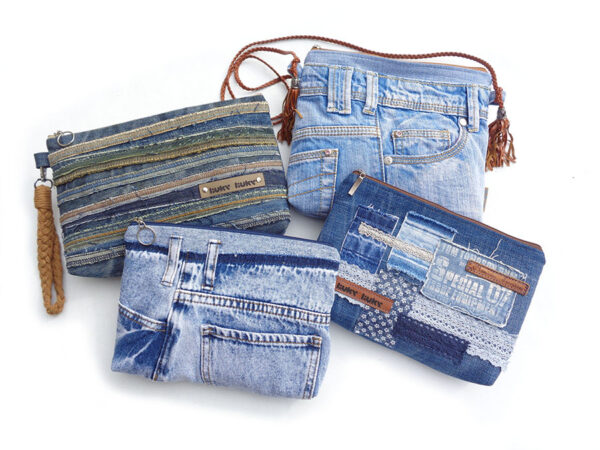
You can also use this patchwork technique with attached lining to DIY a make up bag:

I hope you have enjoyed this tutorial, feel free to show it to me 🙂
And if you wish to purchase a full tutorial for flat pouches with sizes and lining options all in one place, it is here >>>.
I have here more sewing projects to make using old jeans >>>
Hi dear thank you very much!! Very nice!!
Your are very welcome! I am glad it is useful!