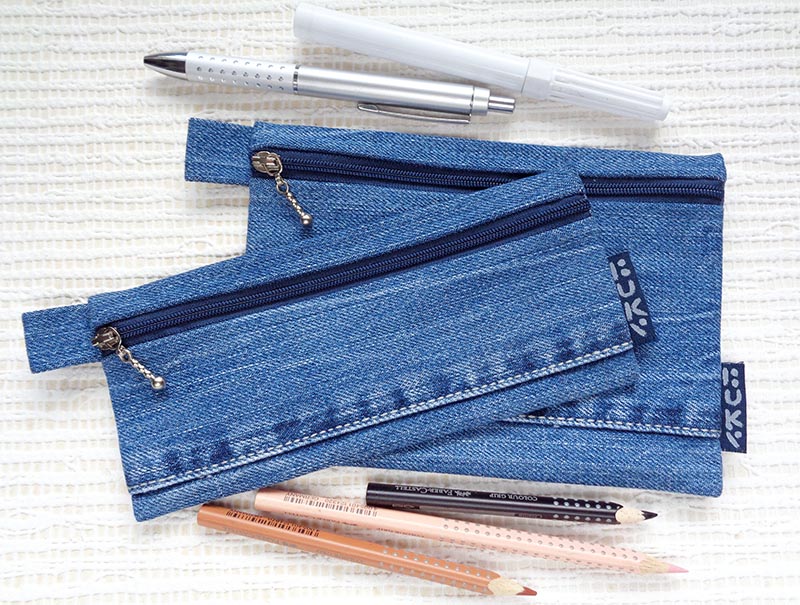
Cutting tips for better looking upcycled denim projects
Most of us naturally cut out pieces of denim according to the grain lines, but some of us don’t know what is grain and why we should pay attention to it. It is important to understand the texture of denim fabric to get the best look of our finished items. Let’s see why it’s important and how to use this understanding for our benefits.
But before you jump into deconstructing jeans, do you already know what you are making? I’ve heard a lot of people take jeans apart right after they bought them and sort out the parts nicely into storage. In my opinion, it’s a very bad idea! We love upcycling jeans mainly because of their character and the washed effect, so we should use this beauty in our sewing projects! Check out my article about this here >>> and don’t cut yourself short 😉
What are the grain lines
Denim fabric usually has three grain directions: lengthwise grain, cross grain, and bias. Understanding these directions is especially important in upcycling because denim’s twill weave strongly affects how the fabric stretches, hangs, and wears over time.
For beginners, a good rule is simple: always identify the original vertical direction of the jeans fabric before cutting. Usually jeans legs are narrowing or widening towards bottom, depending on fashion type, so we can’t rely on the side seams. But we can usually see the lengthwise direction and we should stick to that.
Why we should cut jeans like that
When sewing from old jeans, it is tempting to place pattern pieces wherever there is enough usable fabric. But it’s not always a good idea! It can work with crazy patchwork like here>>>, but other than that, keeping grainlines aligned with pattern pieces creates a more intentional and professional-looking result.
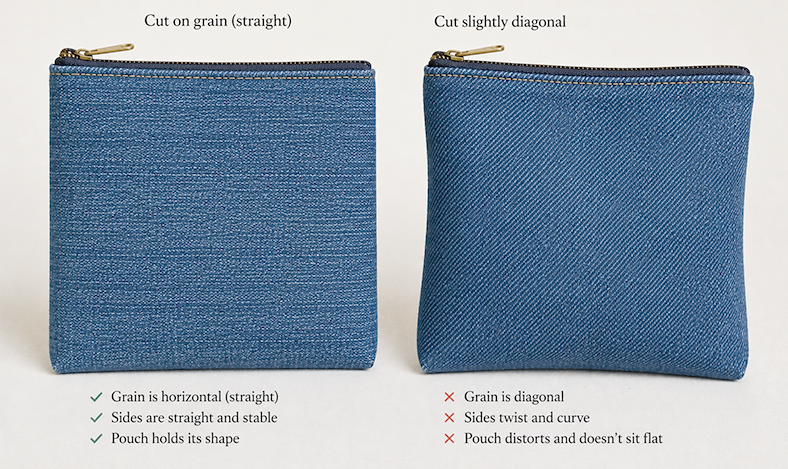
If we cut the jeans leg along and parallel with the lengthwise lines, it helps us for two reasons. 1) The finished item looks professional and not thrown together or lopsided. 2) It does not stretch when sewing along that edge. If pattern pieces are cut without paying attention to the grainline, the finished item can twist, sag, stretch unevenly, or lose its shape after washing.
On the picture below you can see that even when two pieces are joined while not cut parallel, it looks a bit weird. Yes, it’s ok if that was meant to bring some effect, but that is not what we usually aim for 😉
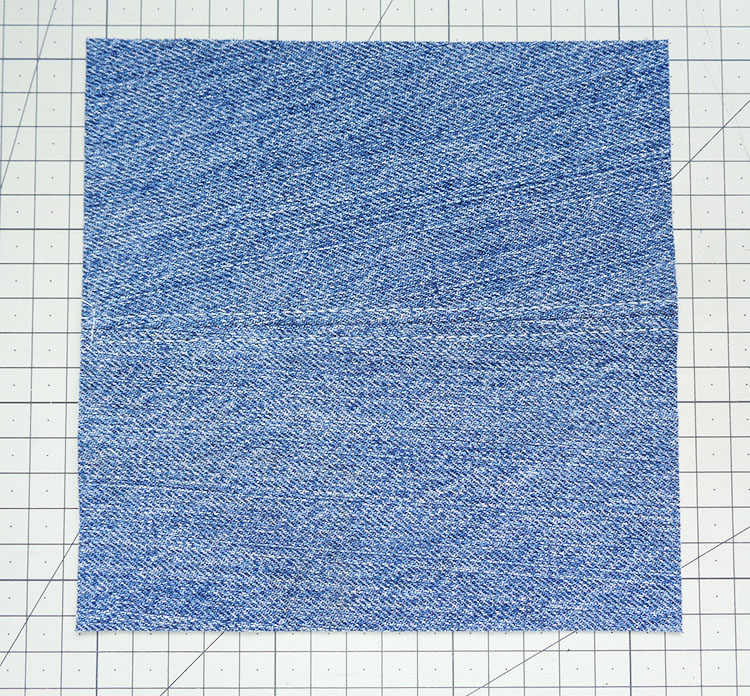
It is especially very important to cut old jeans exactly along the lines when we are going to expose the raw edge as a decor, we are aiming here to get the pretty frayed edges:
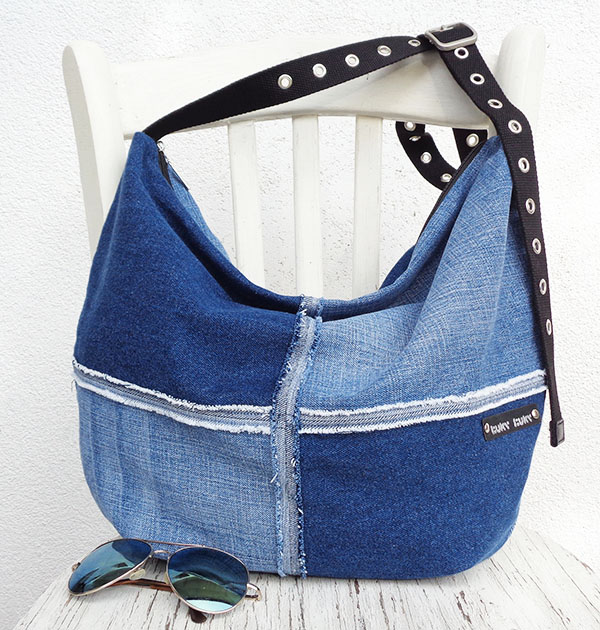
When it comes to top of a bag, with zipper or without, there will be minimum stretch too and that top will not go “wavy”.
How to find the right cut
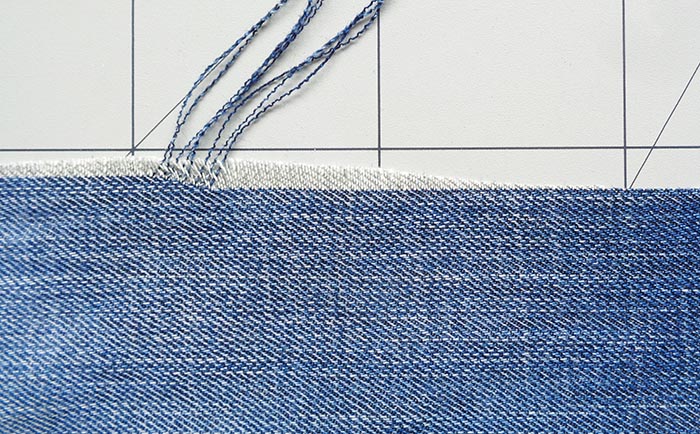
Usually you can easily see the texture lines on denim, they just visually appear, but if it’s not clear immediately — pull off some thread at a raw edge and you will find it.
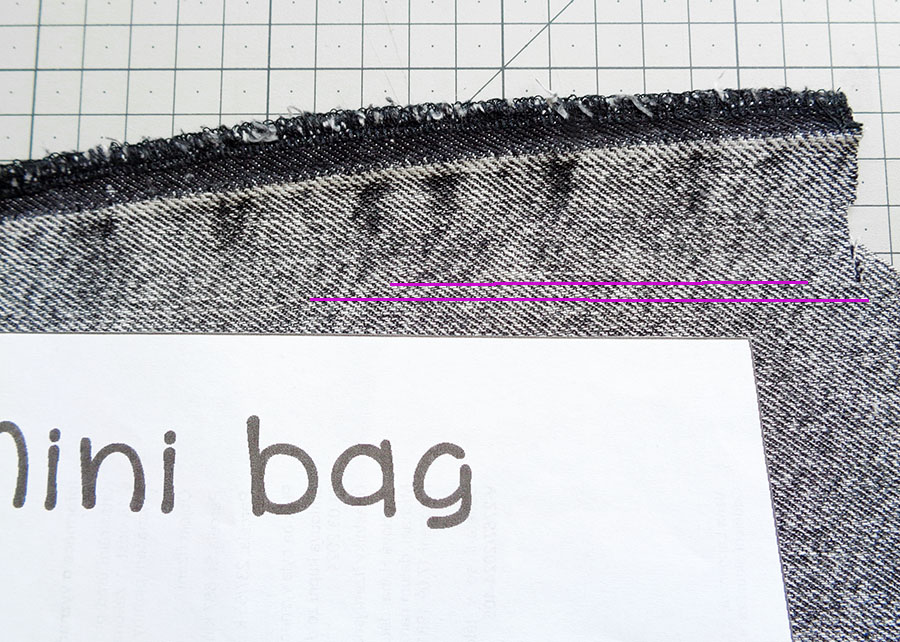
Once you “caught” the grain, lay your pattern piece parallel with it, especially the top side of a denim bag or a zipper pouch:
Cutting denim diagonally
Lat’s take a look at some ideas where cutting NOT along the grain gives a better effect. First and most pretty is the denim fringe:
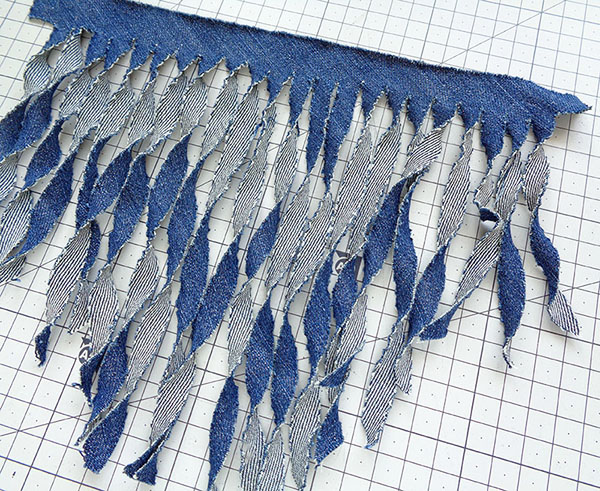
To make a fringe from old jeans you have to cut the fabric exactly at 45 degree diagonal – then it twists nicely on it’s own 😉 Read my detailed tutorial about this here >>>
Another interesting tip about not cutting denim straight – is the slight fray it creates when sewn into crazy patchwork with exposed ages:

Try and experiment with cutting denim sometime. You will also find that different denims create different effects too. Have fun!
Have you enjoyed this tutorial? Was it useful for you? If you are thinking how to thank me, you can buy me a coffee. This is how I keep this website adds-free!
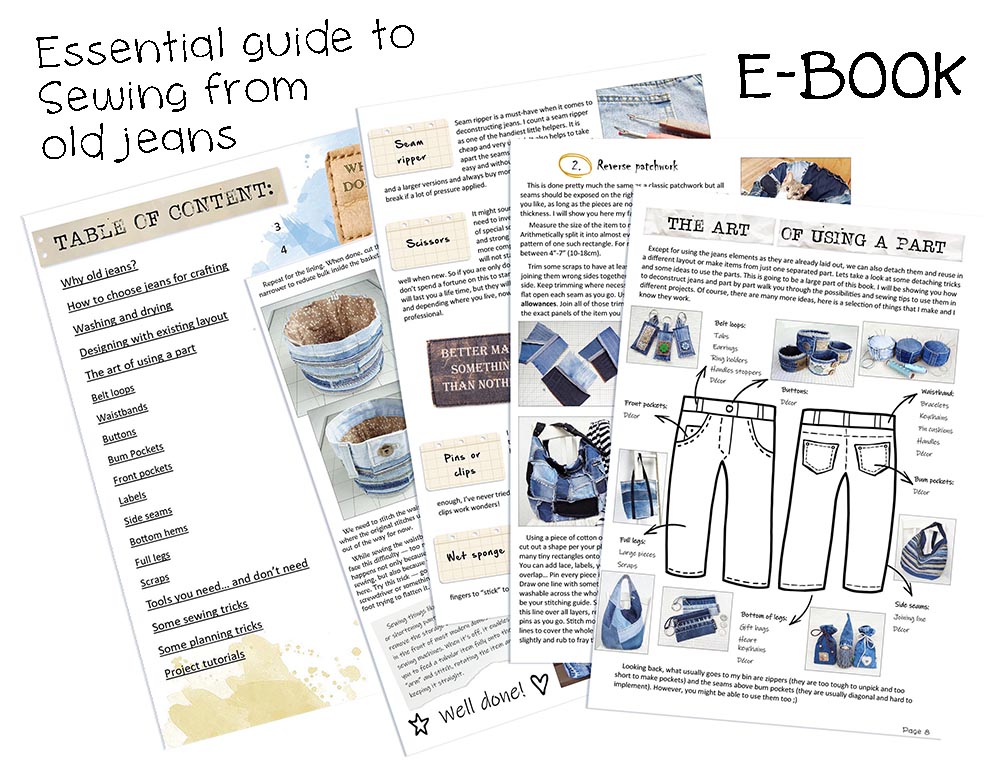
I hope this free lesson was useful for you! By the way, many more tips and tricks about upcycling jeans are in my special book:
For more free lessons on upcycling old jeans go here >>>