How to install a magnet clasp closure
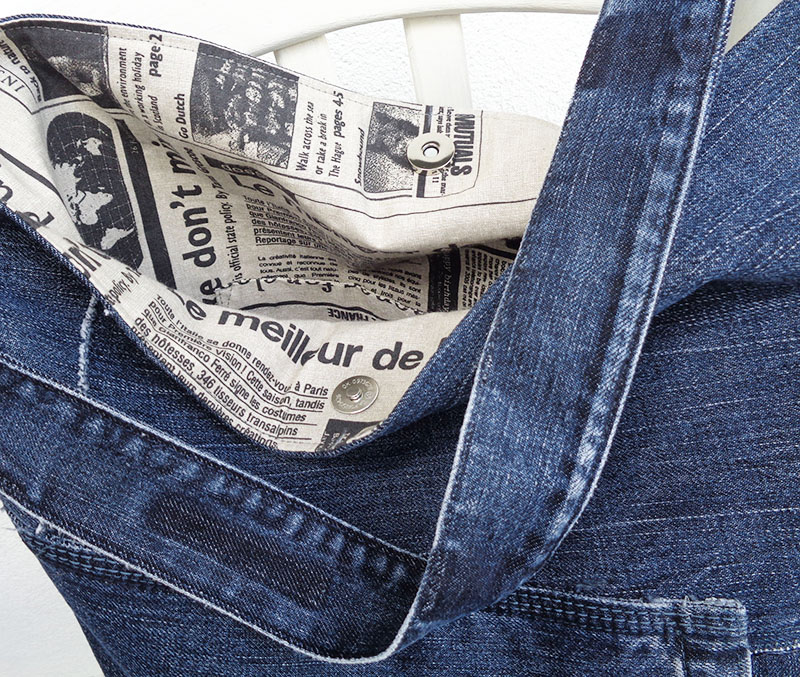
In making handbags one of the important things to consider is the closure. A bag can have a zipper, a button, a magnet clasp, or some kind of fancy bag fasteners. If you are not familiar with inserting zippers, the magnetic closure could be a good option. It is cheap to buy and easy to fit. Let’s see how to install the magnet clasp closure for your denim bag.
Getting started
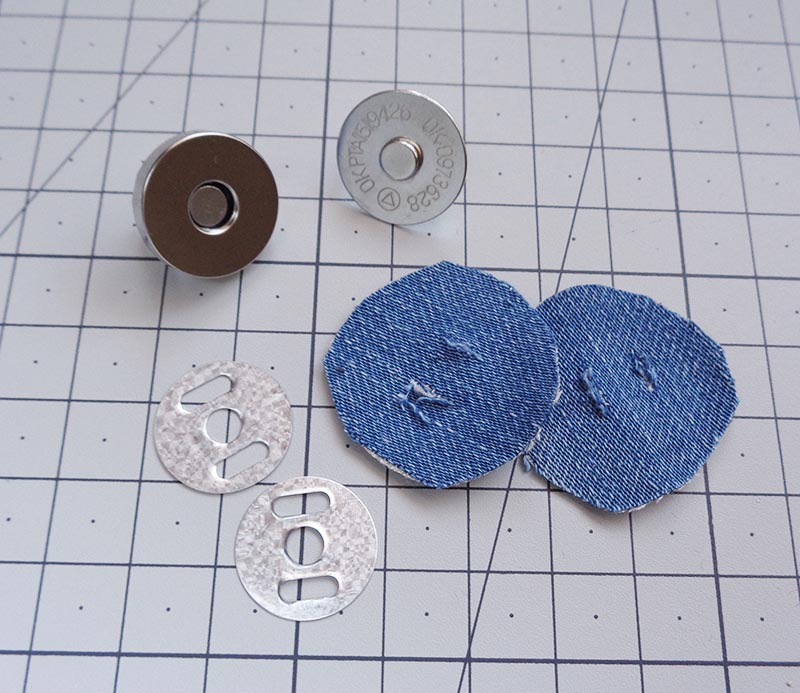
In addition to what comes in the set of the clasps, prepare two circles of scrap denim (or other strong fabric). Cut two slits in them for the clasps legs. Using those as strengthening will extend the life of the lining fabric, it will help against tearing in certain spots.
It is very good idea to iron on some interfacing into the places where the clasp will be placed. But do it rather before the bag is sewn, when you have the lining pieces cut out. Cut two 3×3 cm squares out of iron-on interfacing and iron them on (at the wrong side). If you don’t have interfacing on hand, don’t worry, it’s only for extending the life of the lining.

Fitting it in
After the bag is complete, find and mark the exact middle by folding the top of the bag in half and joining the strap.

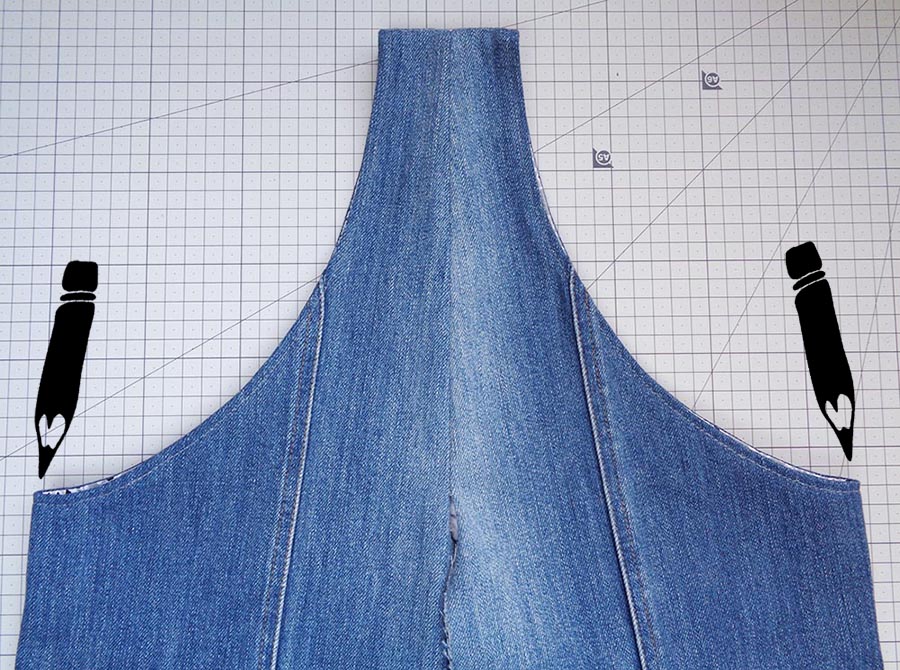
Measure 2cm (or depending on your project) from top and mark two slots with the help of the back disc which comes with the magnets.

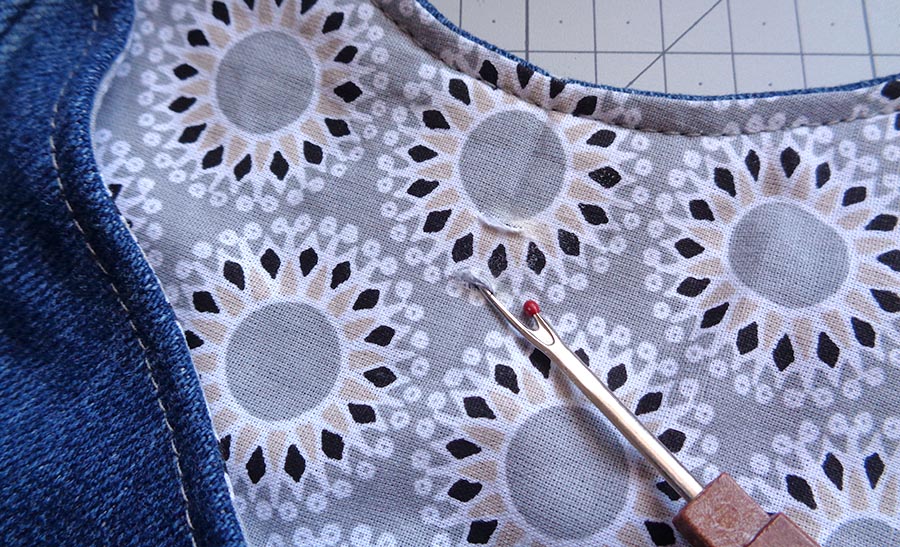
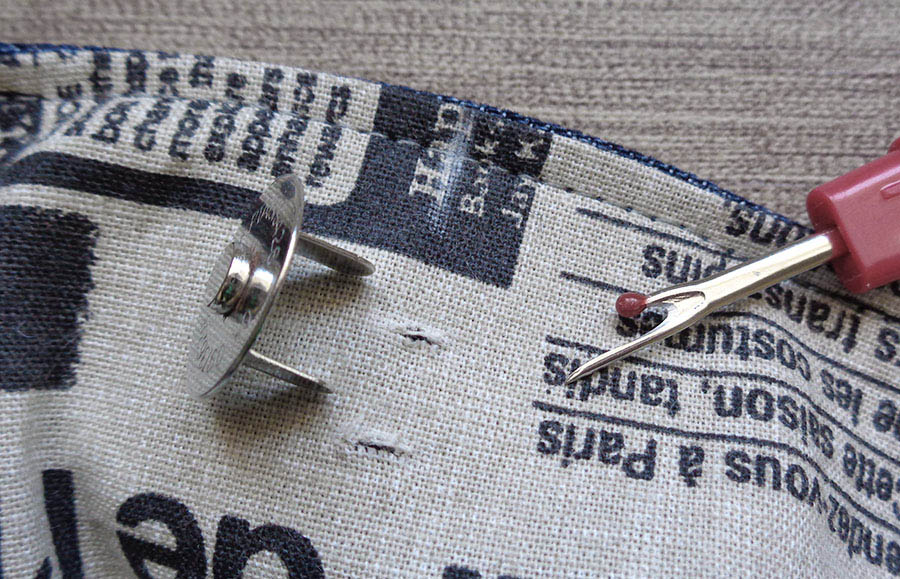
Cut two small slits (try to make them very small) at the marked places. Cut through the fabric and interfacing.
Push the legs through the rips from the right side.
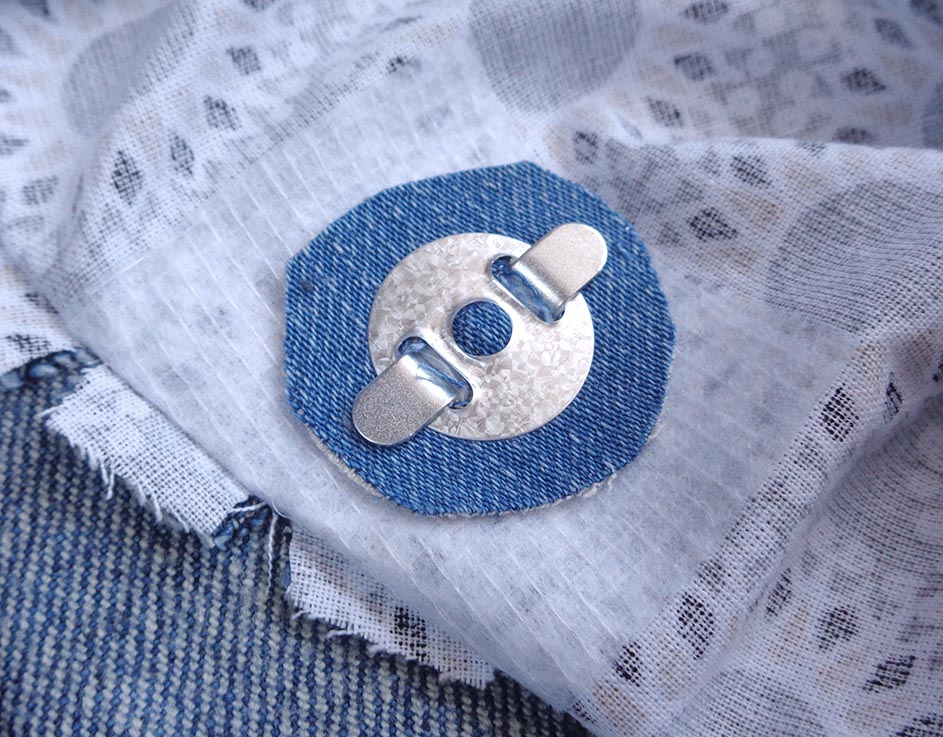
On the wrong side build up a sandwich like this:

Now open the legs flat:
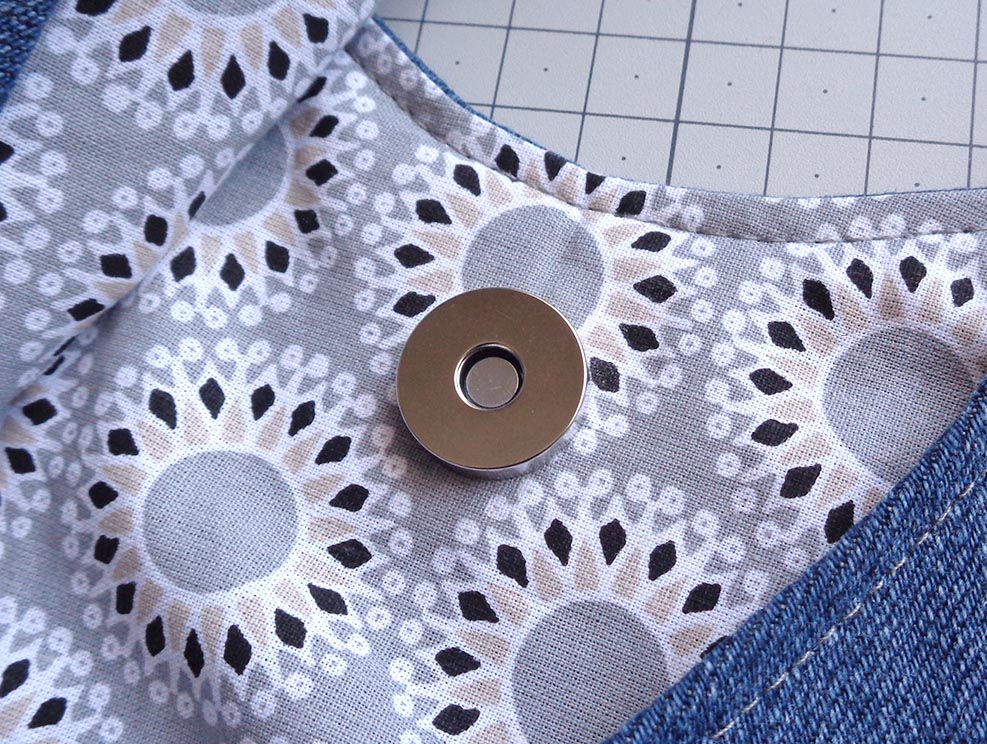
On the right side it will look like this:
Repeat everything for the second half:

Some slouchy bags don’t need a closure at all, but it’s always nice to have just that little bit of security.
Now you know how to install a magnet clasp closure
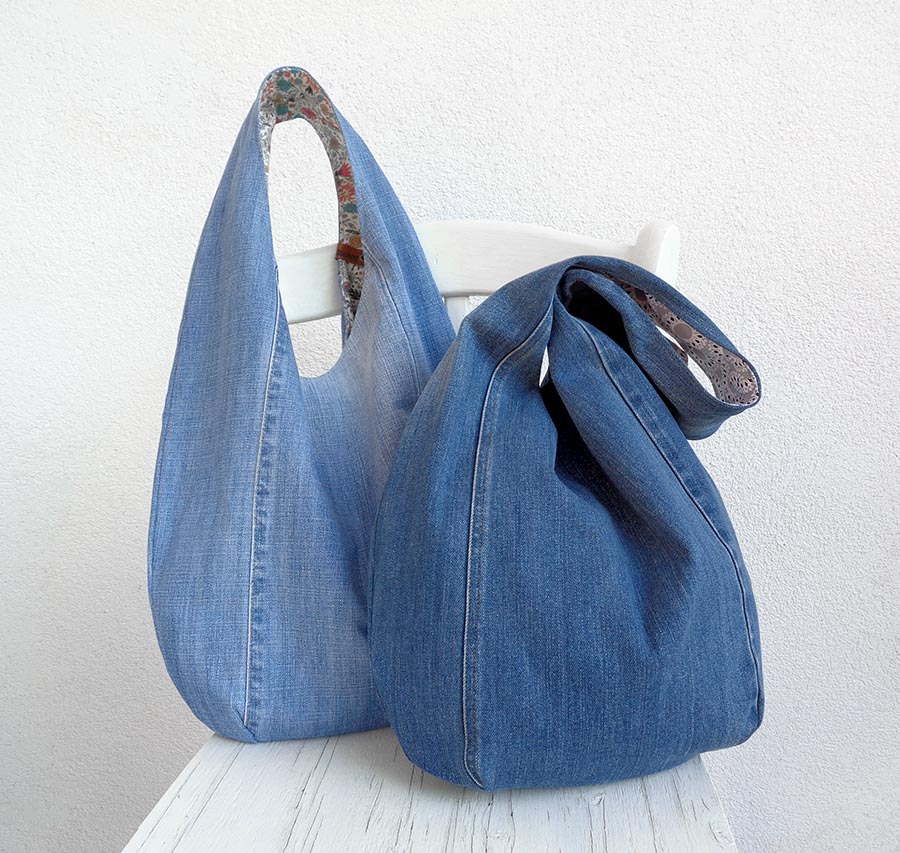
There are so many bags where the magnet closure comes handy:


More sewing tricks are here >>>
please send hobo bag tutorial
Hello, the pattern and tutorial for the hobo bag can be purchased here – https://makeitindenim.guru/product/hobo-bag-tutorial/
I go to goodwill and buy inexpensive purses and cut the magnets out to use in my designs. You can get buckles and d-rings and all kinds of hardware from one purse for less than some of the magnetic closures cost.
Yes, this is a good idea, if the purses you buy are no good for anything else. I buy my metal hardware online and it’s really cheap, just need to find that right shop with right prices 😉