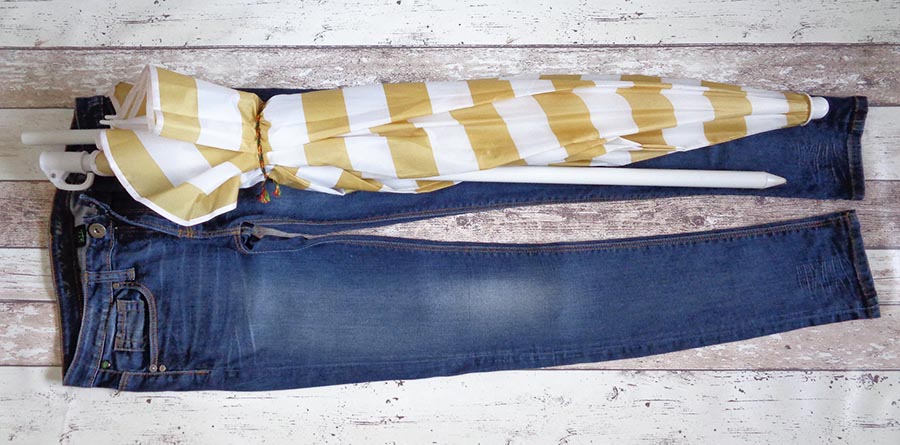
DIY bag to carry a beach umbrella or a yoga mat

How to make a DIY carry bag using one jean’s leg? DIY umbrella cover or a yoga mat bag with a strap is a great easy sewing project. Surely it is also a superb way to recycle a pair of old jeans and show everyone your eco-friendly lifestyle. This free tutorial with step by step photos should help you with this sewing project for DIY carry bag from jeans 🙂

Preparations
Find the right jeans. The legs should be long enough for the umbrella to fit in more or less fully. For a yoga mat the width is more important than the length. Skinny jeans are great to make this carry case for umbrella. It is also cool in the means of recycling – skinny stretchy jeans are hardly suitable for other sewing projects. For the yoga mat, however, check if it fits into the leg.
The top of this DIY carry bag can be made with a tie-string or without. If you will be using the waist band as a channel for the tie-string, this channel should have a space inside to run the string all the way through. Check that the waist band has no stitching through. If there are any labels stitched on the outer or inner – remove them.
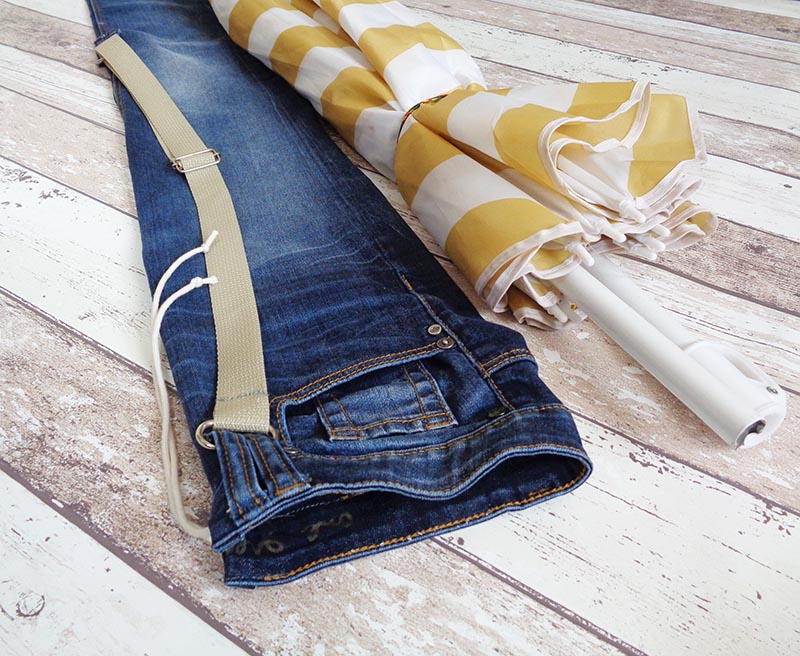
On another note, the cover bag can be made without a tie-string, especially if the bag is as narrow as mine here – 38 cm diameter (15″):
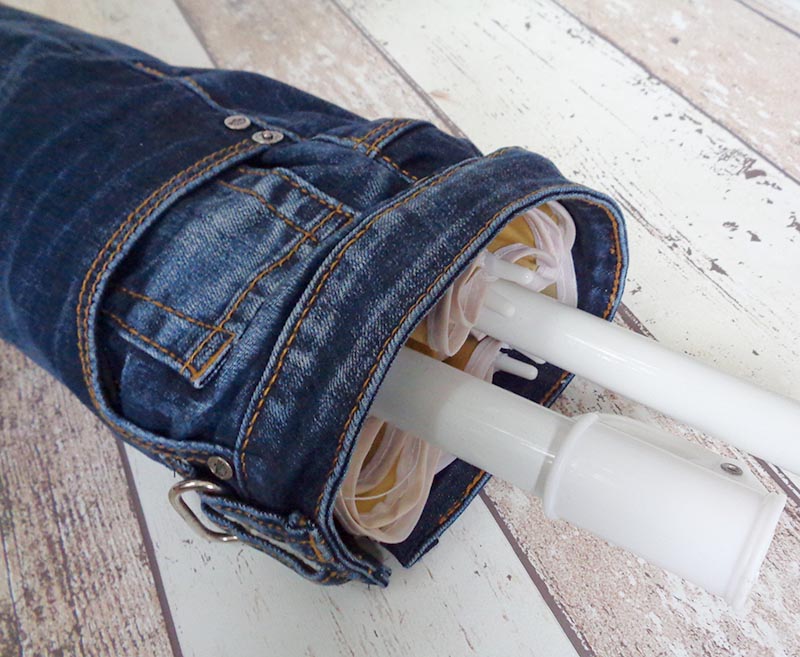
Prepare a strap for the long handle of appx 1 metre and think now how you will attach the strap to the bag. It can be sewn directly onto the bag or, like I’ve made it here – use the belt loops and metal d-rings.
Cutting and unpicking
Cut the jeans along the crotch. Start at the knee (where the leg starts to widen) and try to make the cut linear as for the future bag to have a nice straight shape. Leave some extra of the waist band – this will be the space for a tie string to go through and you will need to make neat edges on it. On the picture you can see I have cut quite a lot of it (to play safe). But later you will see you will not need this much.

Unpick the belt loops that are getting in the way of your future side stitching line.
Levelling the top
You can see that the back side of the jeans is much higher that the front. We have to level this up. At the back gather the denim into harmonica to make the whole back side smaller to match the front side.

You can line up the excess with the jean’s existing stitches for a neater look. And If you unpick a bit of the waist band too, you will have some extra space to tuck in the excess of fabric.

Stitch along the folds, trying to nullify the harmonica as it’s getting away from the raw edge.
Sewing the strap on to the DIY carry bag from jeans
Once you see that the top of the DIY carry bag is level and ready to be sewn together, switch to the strap for now, before finishing off the side. This is because at this point you have a much better access to get the leg under your sewing machine. Measure about a third from the bottom to place the lower end of the strap.

If there is absolutely no way you can get under the sewing machine with this bit – there is a trick. Unpick the stitches on the jeans leg opposite from the strap placement (usually there should be no decorative stitching on that side). Then make it large enough to enable yourself to get in there with the machine. And then when you are done with the strap, just sew up the unpicked side from the inside.
Sewing the side up
Turn the bag inside out and line up. You now need to cut the side in the exact straight line ready to be sewn up. Cut through the waist band too.

Unpick some stitches on the waist band (appx double distance of your seam allowance) to be able to sew up the side keeping the waist band free till later.
If you are not using a tie-string, do not unpick anything and stitch right through it all. If you are going to use the tie-string, do not sew over the waist-band:
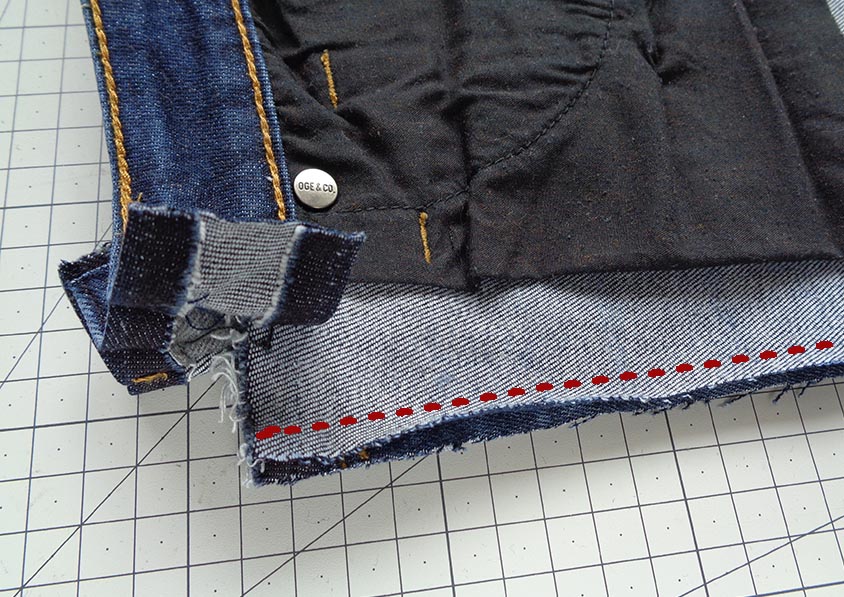
Start from top of the bag. As you are getting to the middle of the leg, where the raw edge finishes – try your best to finish the stitch into a zero seam allowance, keeping a straight line all the way. It helps to draw a line first with a very long ruler.

If you are not making the tie-string, you are done with the side (you have stitched it all up including the waist band) and all what’s left is to stitch the other end of the strap and the bottom of the bag. If the string is to be here, fold inwards the raw ends of the waist band, like on the picture below. Then stitch it up with only horizontal lines to secure. I stitched the top line in two separate sets of stitching to have it loose at the top, I think if I sew it up completely, it will eventually break.

That way you should have a channel for the tie-string inside the waist band with the entrance and exit.
The other end of the strap
Depending on your choice, secure the other end of the strap (or strap loops) somewhere at the top of the DIY carry bag from jeans.

If you want the strap adjustable, you will need some additional hardware. This is how to make it adjustable. Stitch one end of the strap onto the middle bar of a slider and then feed the other end of the strap through the d-ring and then through the slider and secure it at the other end.

Feed the string into the channel
Tie one end of your string onto a safety pin – this will allow you to feed the string through the space inside the waist band. Once you come out on the other end – remove the pin and you are done! You can decorate the ends of the string with some beads.

The bottom of the DIY carry bag from jeans
There are different options how you can finish off the bottom of this DIY carry bag. Stitch it up on the inside as usual or on the outside to keep the original hem showing. I stitched mine on the outer and then tied it up with an elastic band just because the umbrella end sits in better like this in my eyes 🙂

All done! I hope you have enjoyed sewing with me! Leave a comment below 🙂
All finished and now it’s time to go for a rest at the beach 🙂


More denim recycling projects are here >>>

Super ideja ,sve pohvale.
Thank you!
όλη η διαδικασία ήταν τέλεια και κατανοητή σας ευχαριστώ.
I am glad you like it 🙂
Дуже чудова ідея. Шукала щось цікаве і просте для створення сумки для коврика з йоги. Дякую.
Спасибо, Марина, я рада что вам понравилось!