How to make a simple open pocket for inside of a bag
One day I have visited a craft fair in town. There was a lot of beautiful handmade clothes, jewellery and of coarse bags and purses. One bag particular attracted my attention, it was a small and super cute messenger with a flap. I took it into my hands, opened the flap and… Oh dear me… the stitches was undone at one top corner of an inner pocket. Simply because the top corners was not secured in place properly. So I have showed the maker my way to sew on a pocket and then I thought it might be useful for other people to see my small sewing trick too 🙂

Cut out the rectangle
To make one open pocket we will need two pieces of fabric or one piece folded in half. Make a rectangle or a square large enough to put in your phone or keys. I find quite convenient sizes between 20 and 15cm (6″-8″).
Sew up the sides
If the fabric is large enough to be folded in half then one of the sides does not need to be sewn. This is what I will show here. If you are using two separate parts, surely stitch up all four sides.
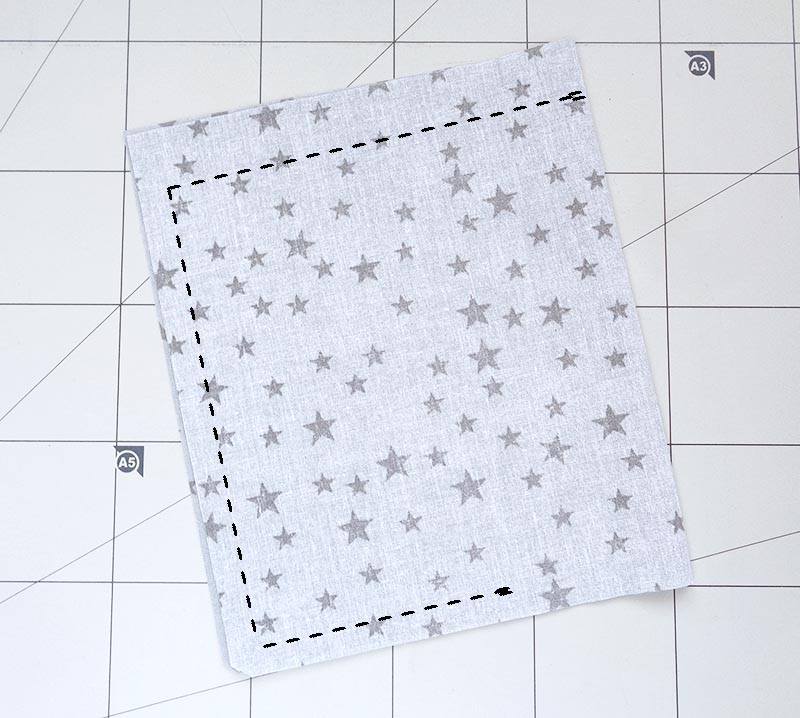
Leave unstitched the opening at the bottom of the pocket and at the top – stitch with a bigger seam allowance. I recommend this because later on this larger seam allowance along the top will make the top stiffer and more convenient while use.
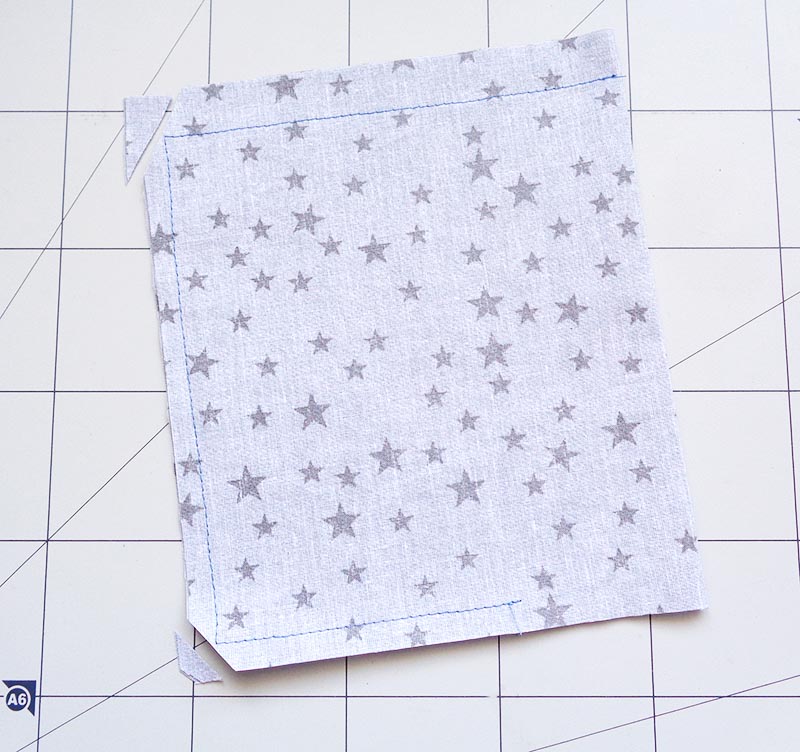
Cut off the corners to avoid bulk when turned to the right side. If you have two parts (not a folded fabric like mine) cut off all four corners.

Turn to the right side (I find it helpful to use a screw driver for corners). Iron. When ironing fold inwards the seam allowance of the opening to make it all matching with the bottom edge.
Then top-stitch along the top edge only.
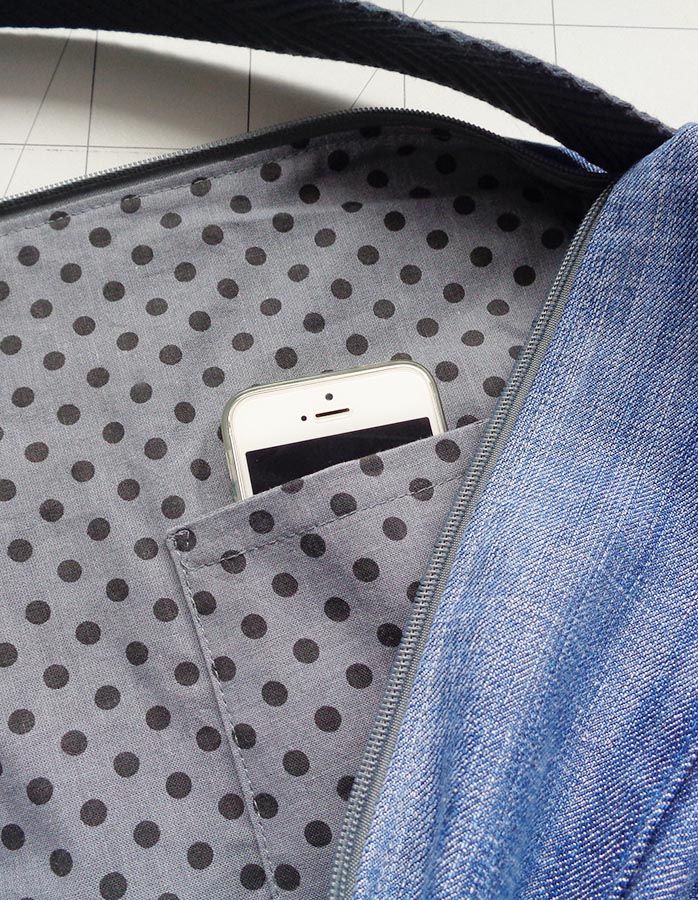
Sew the pocket on
Place the pocket into the position on the lining of the bag you are making. Pin.

Stitch in the way shown on the picture below. If you follow the arrows (you would start by holding the whole thing upside down) you will sew on the whole pocket in just one go.

It is important to go back and forth at the top of the pocket. This will hold on much stronger while in use. For a large pocket you can go 3-4 stitch steps here, for a small pocket – only 1-2 steps to avoid restricting the pocket width.
This is it! The easy open pocket is done!
Notes
If you are making a slouchy bag like this one here >>> or similar, I strongly recommend to place the open pocket NOT in the middle of the lining, but at a side. This is because an open pocket in slouchy bags tend to stick out and become a big bother when using such bag, they tend to get in the way every time you try to put something into the bag. If the pocket is placed let’s say 8-10 cm (3″-4″) from a side of a bag, then it is no problem and is very convenient to put a phone, keys or other small items.
If you have more fabric then just for one pocket, you can make a double pocket in one raw. Simply make a very long rectangle in the same way as described earlier, place it in the middle of lining, stitch as above and then make additional stitch in the middle, securing the seam by going back and forth:

Cotton for lining
What do you use to make lining for your handmade denim bags? I love cotton! It is natural and so easy to handle and it comes in so many colours and fun prints!
Surely we can use recycled textiles for inside of our bags! Shirts and dresses are very often contain enough fabric to make a lining for a purse. Find out how to eliminate stains and smells in used garments before repurposing them >>>.
But if you are buying cotton for your sewing, don’t forget that it shrinks in wash so it is better to “prewash” it before cutting and sewing! I’ll tell you my way of “prewashing” which is simple and it does the job. Put the cotton fabric into a bucket of warm water and leave for a couple of hours. Toss a bit and squeeze water out to be able to hang dry it. Try not to squeeze too tight and don’t let it dry too much – both will cause too much crinkle for ironing later. Maybe a drier comes handy here, but I don’t have one so I can’t advise you on that 🙂
I hope you have enjoyed the article and if you have some sewing tricks to share – feel free to comment below!
More stuff to learn about sewing denim you can find here >>>