How to make a case for your music


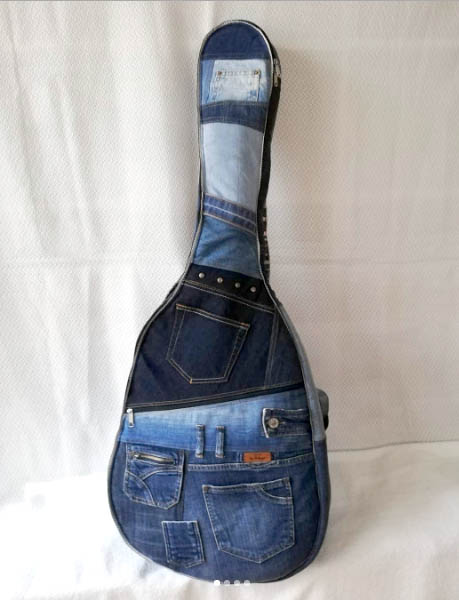
Do you play guitar, violin or ukulele? Or may be your friend does? How about making a cool denim case for it? Everybody wants to own one of a kind unique stuff, so why not to make it? Make sure you have some really cool old jeans pieces that can be used and let’s get started. This free tutorial how to make denim guitar case will show you how to make your own guitar case.
Drawing the pattern
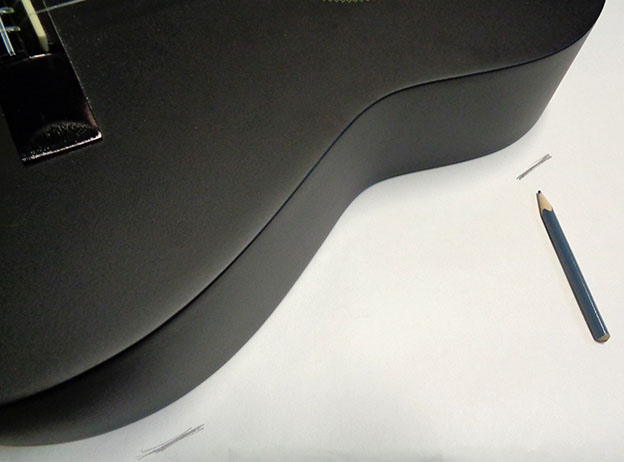
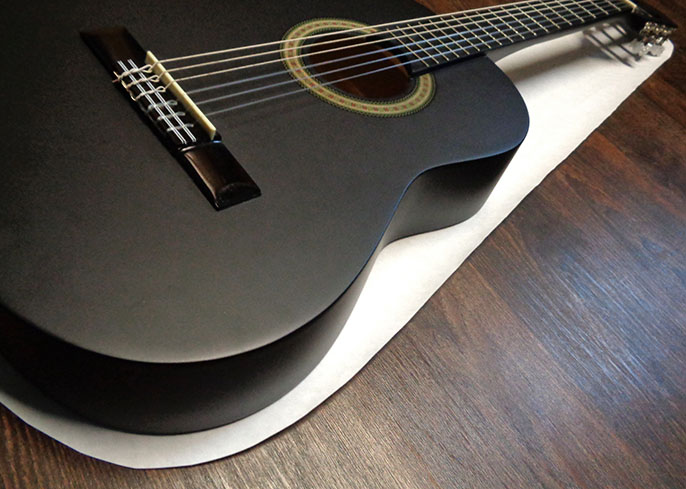
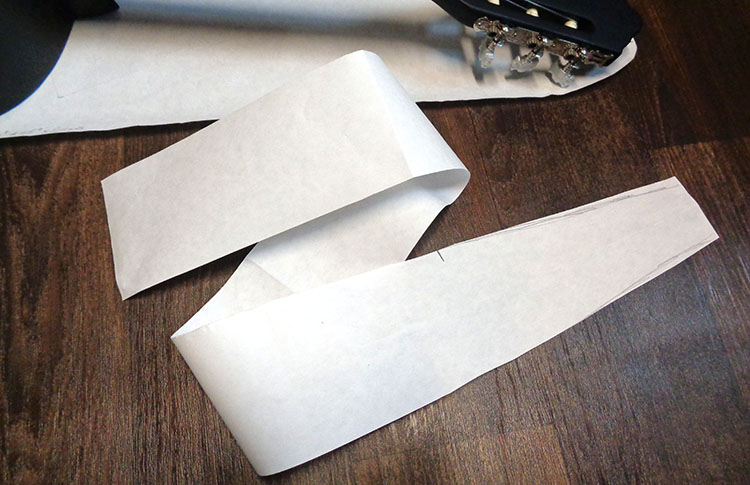
In this free tutorial how to make denim guitar case we should start with drawing a pattern. Place your instrument onto a large piece of paper and mark around to draw the main shape. I decided to make a drop shape rather than the exact guitar shape, because it’s easier. I made the shape about 1-2 cm larger than the exact measurements of the guitar (but for a tighter fit, don’t leave this allowance). To make it symmetrical, first draw one half of the guitar, mark the middle at top and bottom, then fold the paper in half and cut it out making sure it’s correct shape and size.

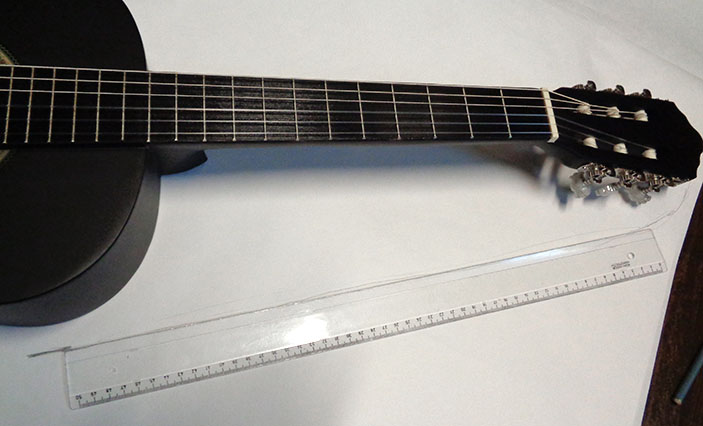
To make the pattern for the side panels of the case, measure the widest part of the guitar’s body (I have it 4″) and the appx thinnest of the head (I have it at 3″, but should of made it even thinner). Now measure the body paper shape you have made – from very top along side to the very bottom (you should have marked it there). I have it 45″. Cut out a long piece upon your measurements, narrowning on one side.
Designing the denim front and back
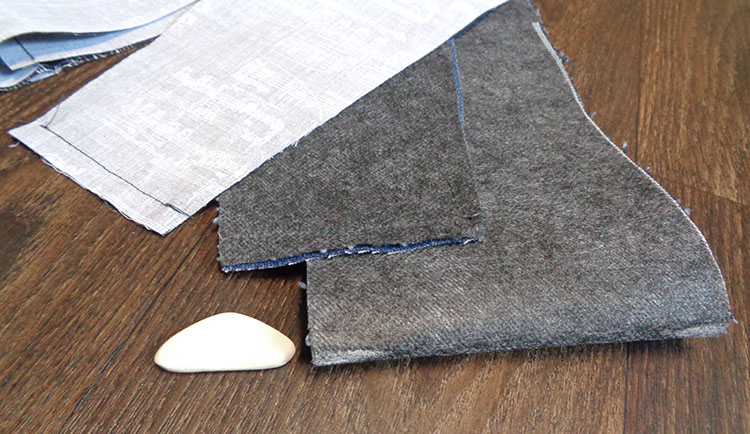
To make the whole shell stronger and for the easiness of laying the denim partchwork later, I am using some unwanted fabric as an extra layer. So, cut two shapes upon the paper pattern you have just made, but (again) 1-2 cm larger – for seam allowance. Depending how strong you are planning for your case to be, you may be using different stuff, such as padding or interfacing of your choice.

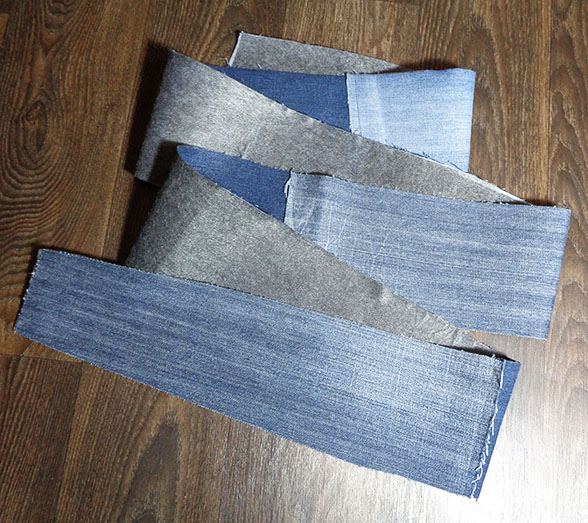
Lay out the body fabric shapes in front of you and start laying the pieces of jeans in random order over the fabric cut. It can be looking like a mess, but there are some tips to consider.
- Do not overlay tough parts of jeans, such as waist, button hole, fly (where zip is), crotch point, etc. Too thick places are almost impossible to sew through. Try to keep them apart. And even better sometimes is to remove some thickness (from underneath) with help of seam ripper and scissors.
- The same should be considered for the edges of the shape. Especially avoid the belt loops.
- If you are making a front zipper – make sure there are no tough denim on the way of the zipper.
- Make sure there is an overlay on all sides of each piece.
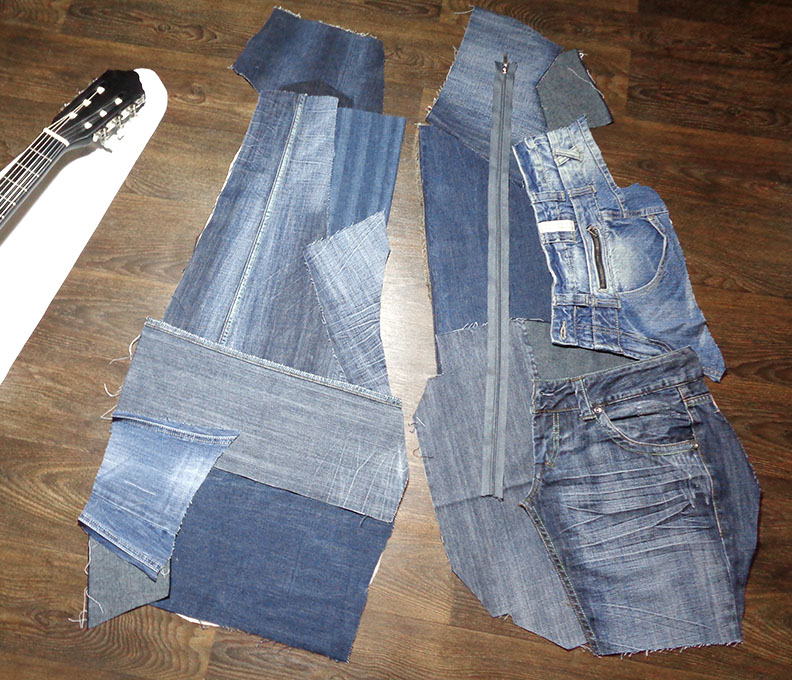
Make sure the base fabric is covered with denim pieces completely. And don’t forget to leave some of the same color denim for later for the side panels of the case.
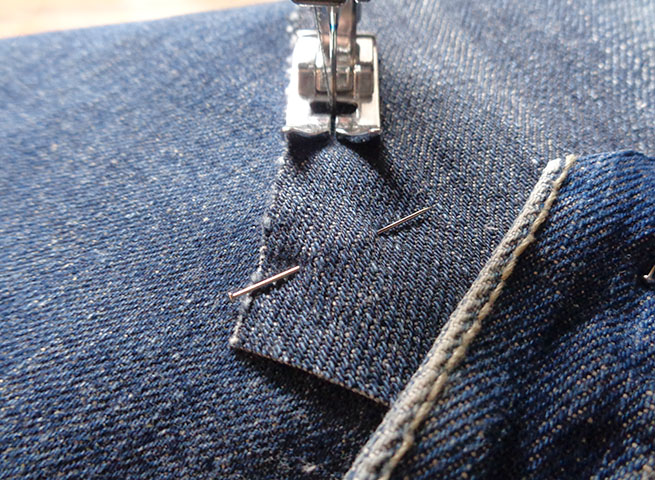
Once you are happy with your layout, pin everything down to the base fabric it is laid on and sew.
making this random patchwork is pretty much the same as this crazy patchwork I have described here >>>. This can be used in so many projects – bags, seat covers, cushions… Another possibility to fill the shape can be another type of patchwork – reversed, you can take a look here how it’s done >>>.
Sewing the patchwork
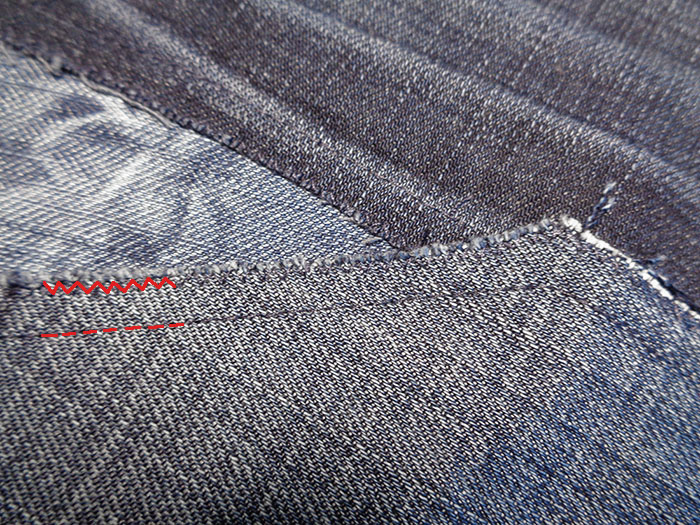
Sew right over every denim piece, along edges. I usually sew twice – first time with a straight stitch at about 0,7-1 cm distance from the edge, removing pins along the way. And then I stitch for the second time with a narrow zigzag stitch and right at the edge. This makes it all stronger and the zigzag gives the rough look to the edges.
Making the side panel
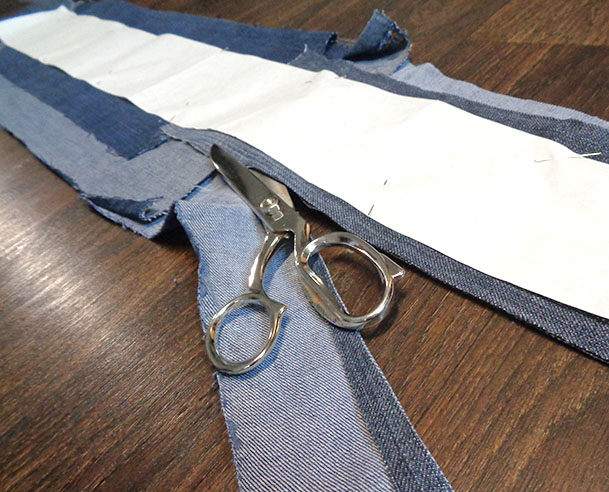
For the side panels, simply join a few long and wide enough pieces of denim to make a very long strip – double the paper shape. And in my project I wanted the sides a bit stiffer, so I used an iron on interfacing.
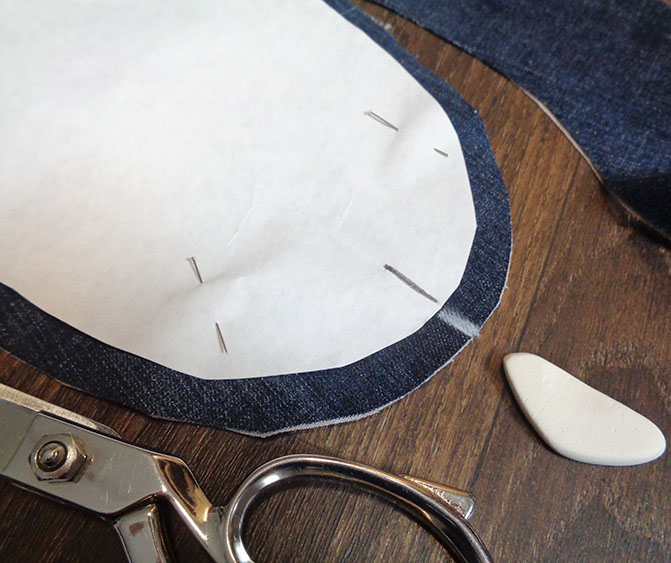
Cutting out the parts
Place and pin the paper shapes onto the prepared patchwork and carefully cut out leaving seam allowance. For the side panel double fold the denim strip, then pin the paper strip to it, so that loose ends are the narrow ones.
Mark the middle on all of them.
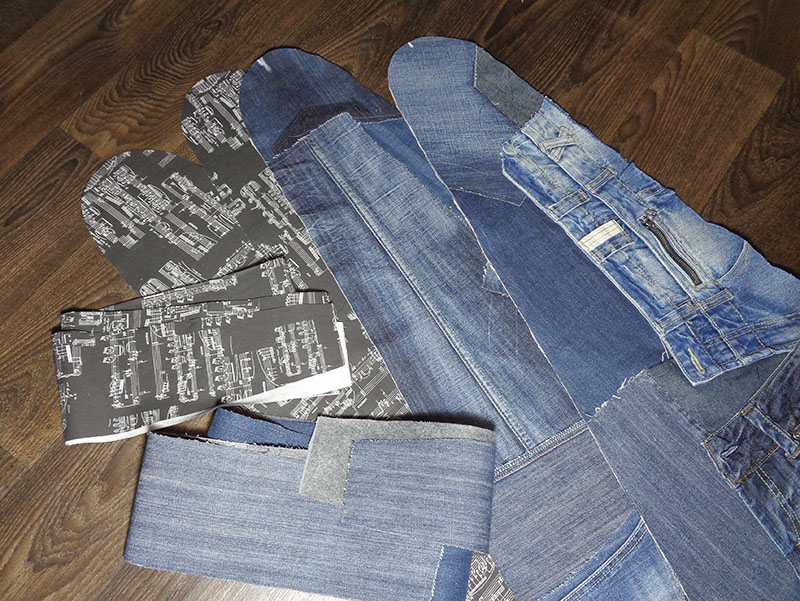
The same way cut out the parts of the lining.
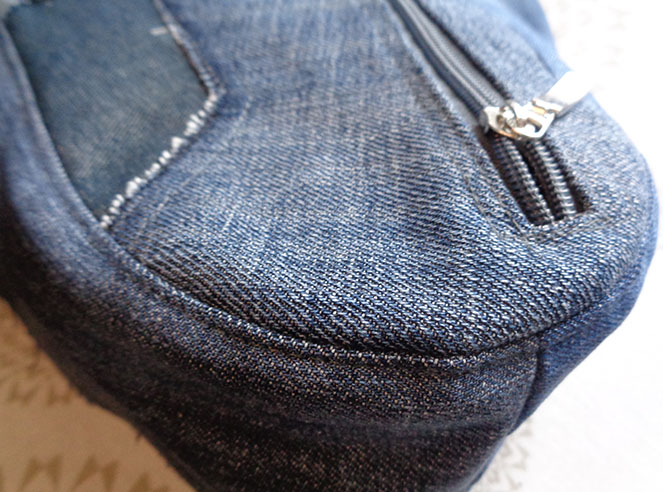
Planning for the zipper
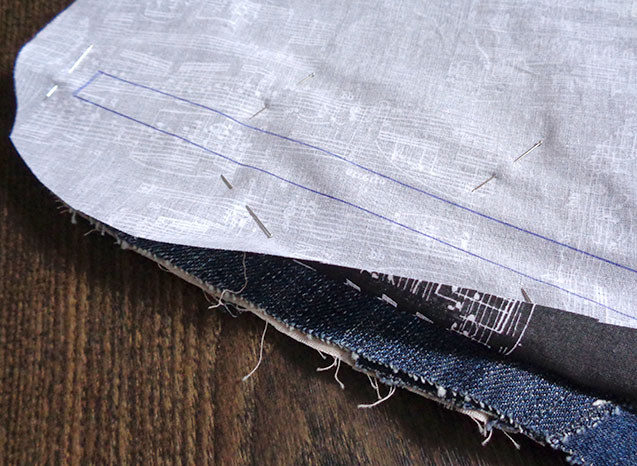
Visually remember where the zipper is planned to be, put it aside, cover the front with the lining, face to face. Draw a long rectangle in the place where you are planning the zipper to be. The length of your drawing is a couple of cm shorter then the zipper and the width is 1,5 cm. Pin down and stitch.

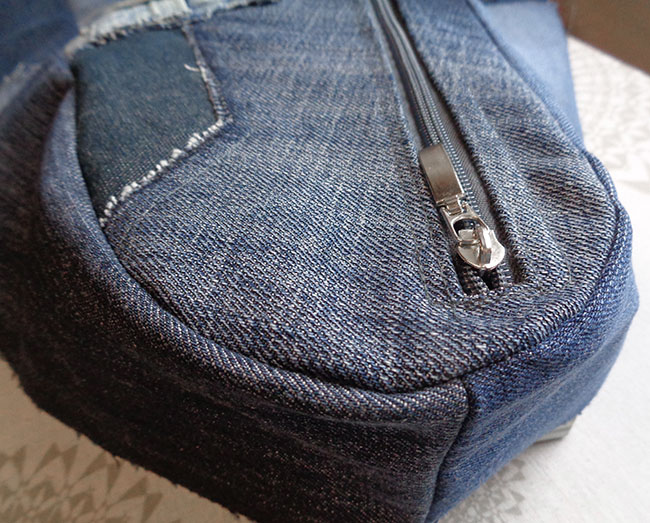
I have the zipper on the front, but as I finished the project I realized that it would be more convinient to have the zipper the classy way – on the side. Because, even though the zipper starts right at top, it still is a bit hard to put the guitar in and take out. However, if I placed the zipper on a side, this tutorial would continue nearly the same way. Just a bit side ways :))
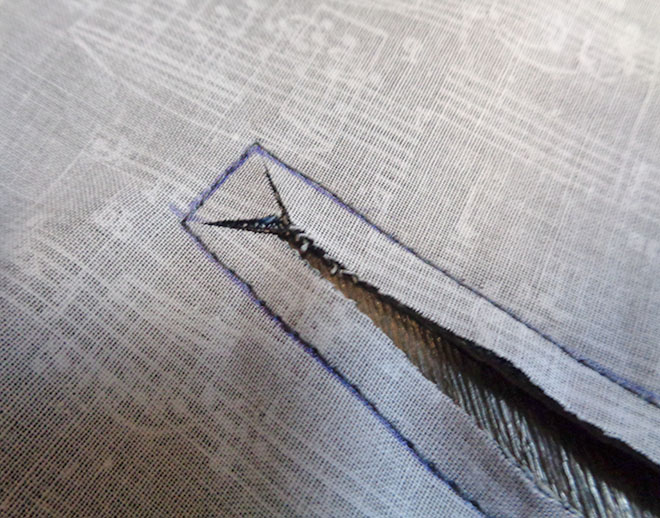
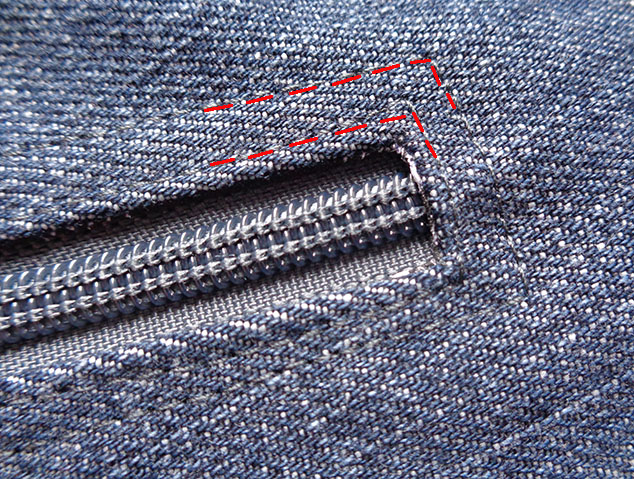
Once the rectangle is stitched, cut along right in the middle of it but not to the very ends. At both ends – cut little triangles as shown below. Be super careful to not cut through the stitches! If you do, stitch again at the same place to secure the seam.

Inserting the zipper
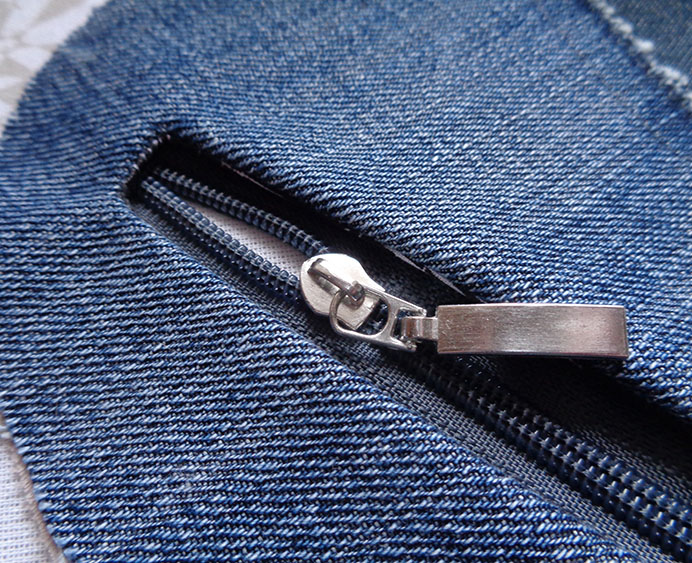
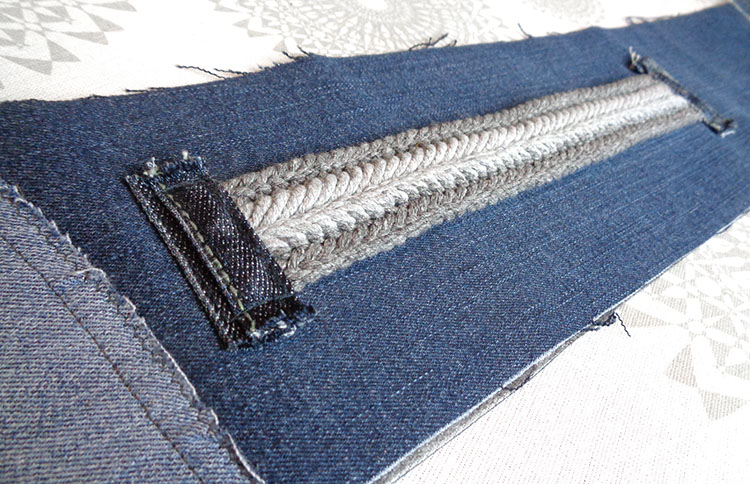
Turn inside out through the hole. And iron on the lining side. This will give you a better view and tidier appearance after all, because it doesn’t look good when the lining shows near the zipper on the finished item.
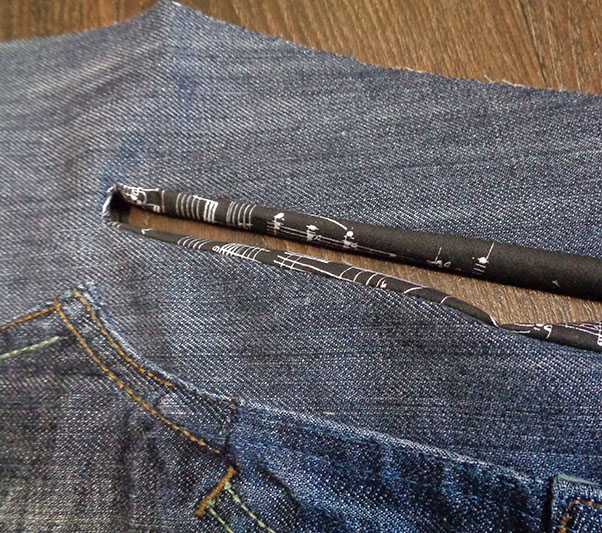
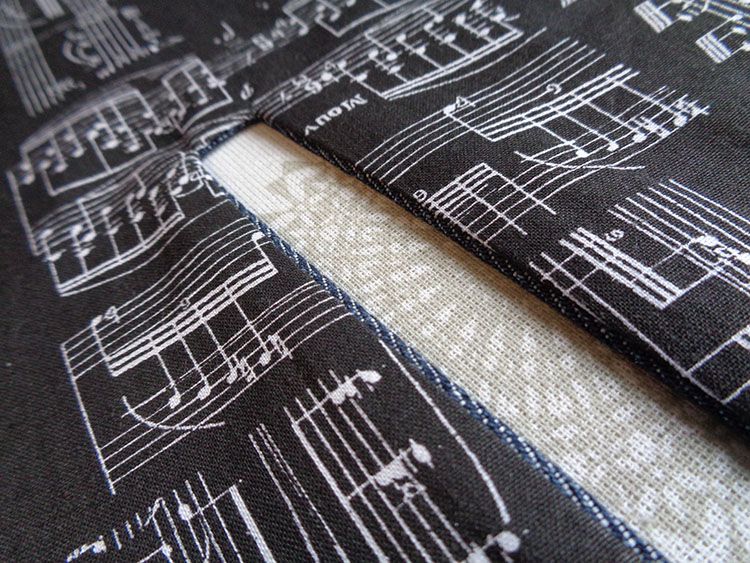
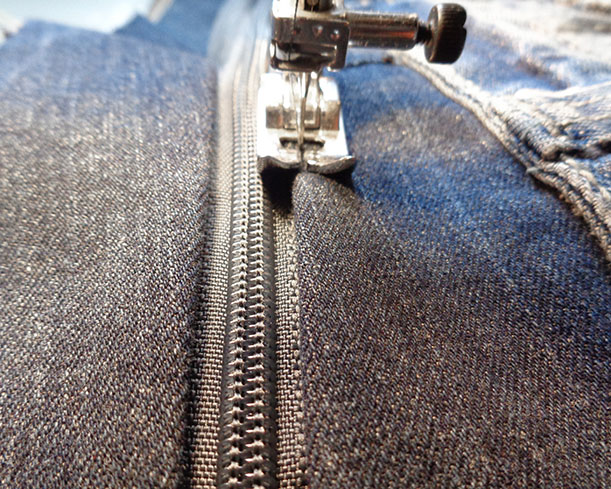
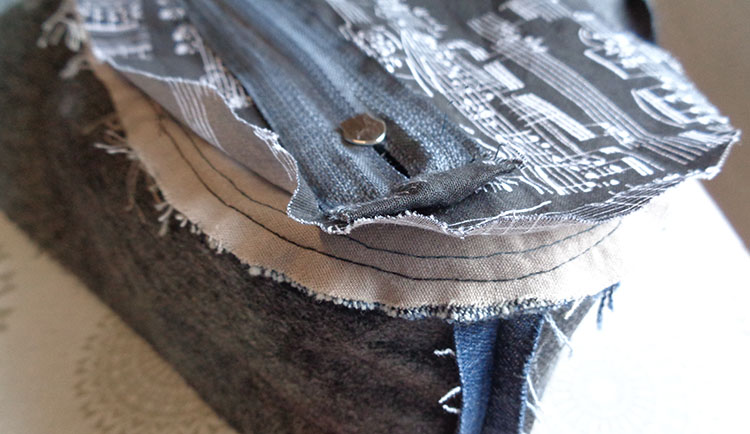
I use zippers that are sold in meters, so I’ve given it some tabs to keep the ends tidy. Standard jacket zippers have tidy ends already. Place the zipper under the hole, pin and sew it in.

Here I also sew twice. Once – right next to the hole edge and then a bit further as marked below.
Adding handles or straps
Now it’s time to make a handle or straps. In my free tutorial how to make denim guitar case it was for my husband’s guitar that always stays at home, so I didn’t need straps for shoulders or anything like this. My handle is very simple. Attach yours at this point, as we are heading to sewing up the body finally!
Joining the body
Sew up the narrow tops of the side pannels and don’t forget to mark the middle (which will be our exact bottom).
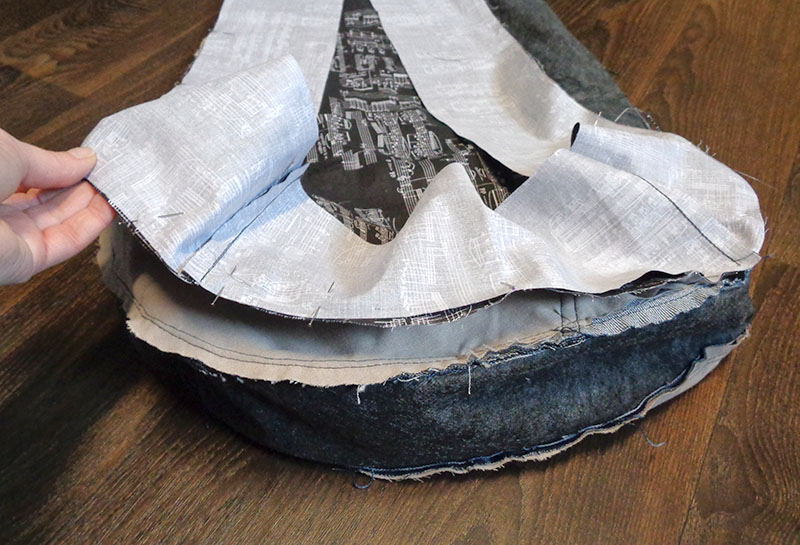
Pin the side panel to the front of the body. Start by joining exactly the chalk marks for top and bottom. Then pin and pin and pin along the sides. If you don’t have experience with sewing circular shapes, you will find it a bit weird and it might not join up correct from the first attempt. But if your measurements were right, it will come together after some fiddling. Keep trying, keep straightening and repinning. And don’t pin the lining to it all :).
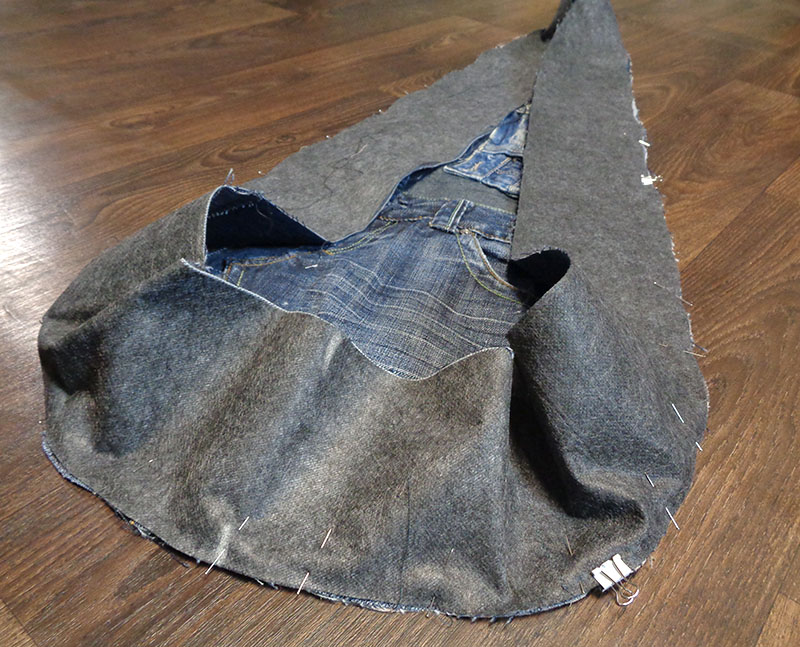
Now sew it around. Again, sewing circular things is tricky. When going through the rounded parts, go slowly and flatten the fabric just before it gets under the machine. Pay attention to the lining and the zipper ends, as those will always try to get in your way.
By the way, at this point, just for a bit of stifness and a very tidy look, you can stitch all the way around, flattening the seams like on the picture below. Looks much better!
Now check if you have the zipper open, or you will not get in after :)))
Now let’s do the same for the back of the body. Pin, pin, pin, sew.
Nearly there! Time to make the lining! ….. Ok, ok, of coarse you want to turn it inside out now and admire 🙂 Lining can wait!
Lining
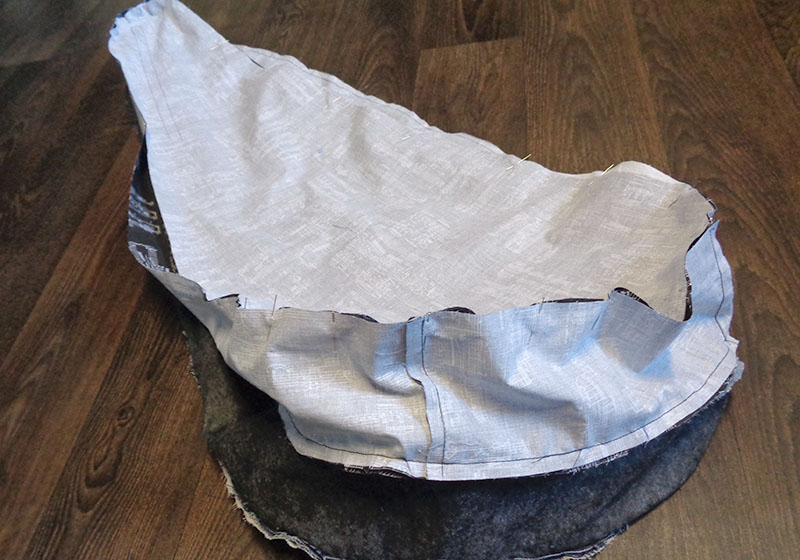
Now off to the lining. Turn it back inside out. Pin, pin, pin, sew. All the same as with the body. Note – the lining is attached to the body with the zipper only. Again, if you are making the zipper at the side of the case, then the lining and the whole work will be situated on the zipper side.
When adding the last lining piece, at the very last moment don’t forget to leave a hole in the lining for turning everything inside out. The thicker and bigger the case – the bigger the hole. I have here 7″. And of coarse better if this hole is somewhere on the opposite side from the zipper, out of sight.
Turn the whole thing to the right side through the hole. And stitch the hole up.
Happy days! You are done!
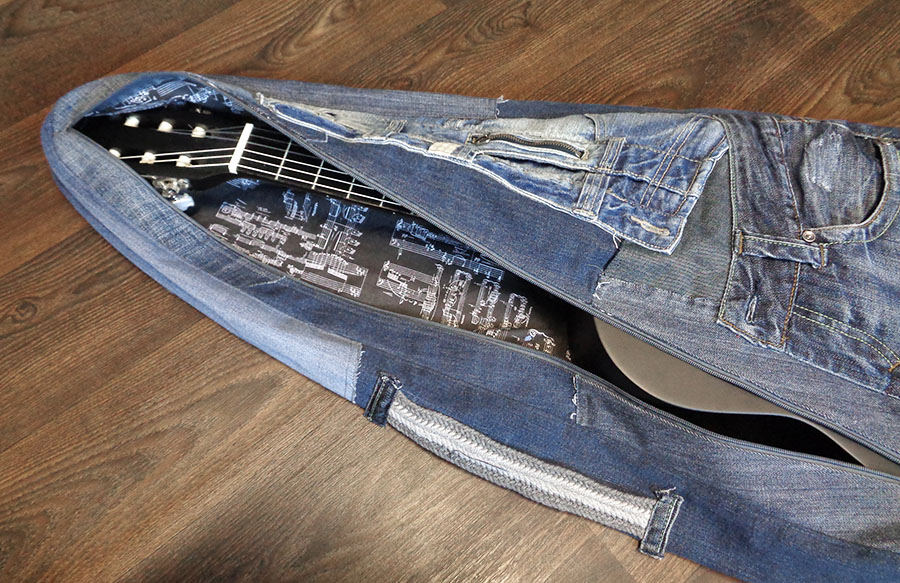
I hope you have enjoyed my free tutorial how to make denim guitar case. Check out some other stuff you can make >>>

awesome design and instructions 😀👍
Thank you, Linda! I am happy that you like it 🙂
I LOVE this! Need one for my mini banjo. 28″ long.
Get yourself crafty :))