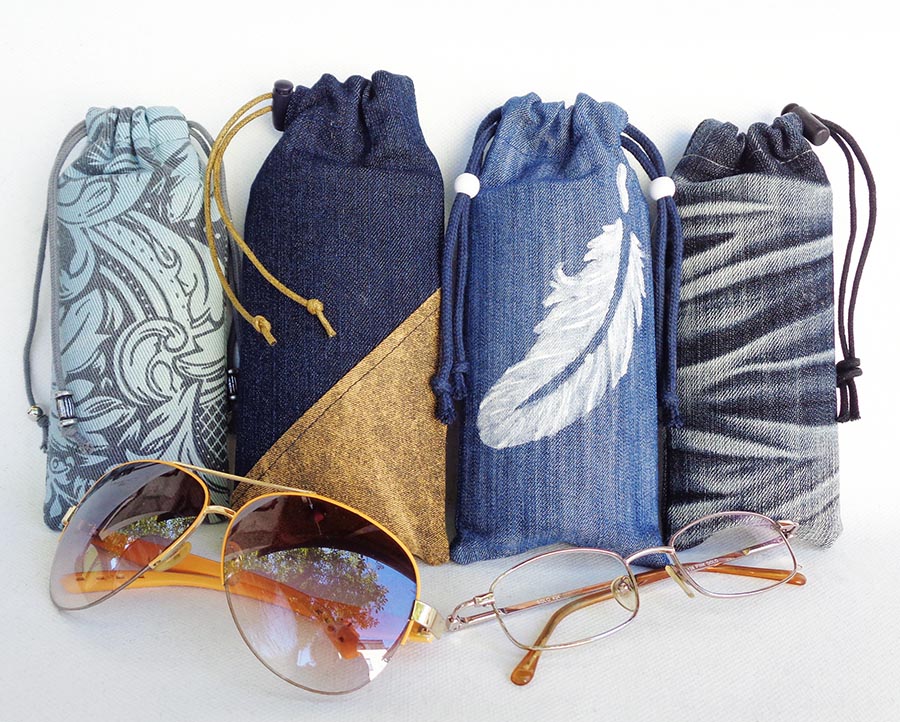
Draw-string pouch for eyeglasses with a semi-hard option
A simple draw-string eyeglasses case for glasses is a great idea for a DIY gift. It can be decorated in many beautiful designs and even personalised!

However, most of us would prefer the pouch to be harder than just a fabric bag. And I am going to show you how to make DIY eyeglass case which is semi-hard! I am using an insert made from a plastic bottle (very eco-friendly approach, eh? ;)). However, first we need to make a pouch from fabric. Here is a free sewing tutorial to make an eyeglass case.
The glasses case can be made from almost any fabric, but as you know in our Denim Recycling School we are using only old jeans. As this glasses case is a small thing I strongly recommend to use rather thin denim and it can be a stretchy one too. Also when it comes to working with small items be prepared to have your fingers exercised 🙂
What you’ll need
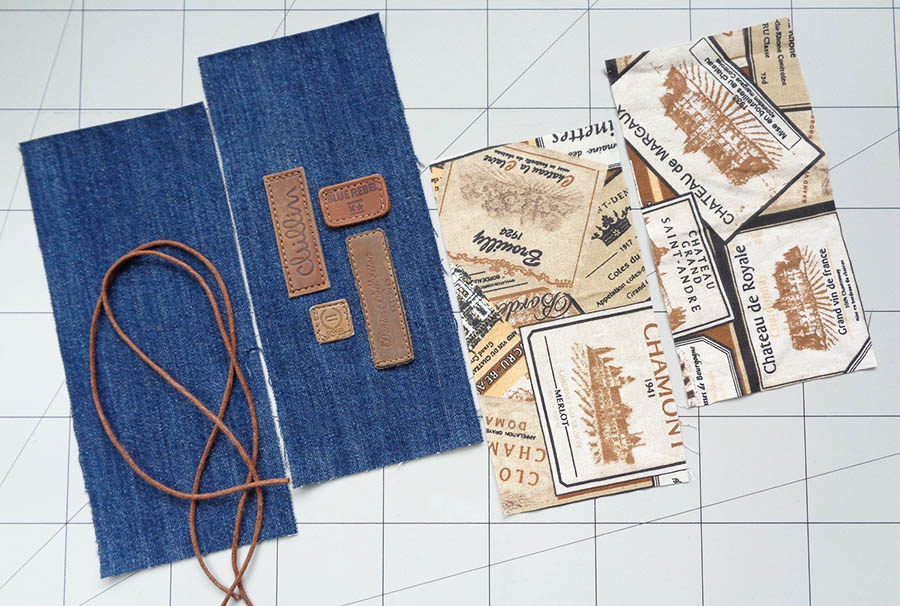
Thin denim. Thin cotton for lining. Two strings max of 35cm (14″) or one piece and a string stopper (thin shoe laces can do too). Beads (optional). Double sided iron-on tape (if you don’t have this, don’t worry, you can hand-stitch). Some decorations of your choice.

Preparing the parts

Download and print the pattern for eyeglasses case:
Click for pattern of both sizes
If you don’t have a printer, you can draw your own pattern by using sizes on this picture:

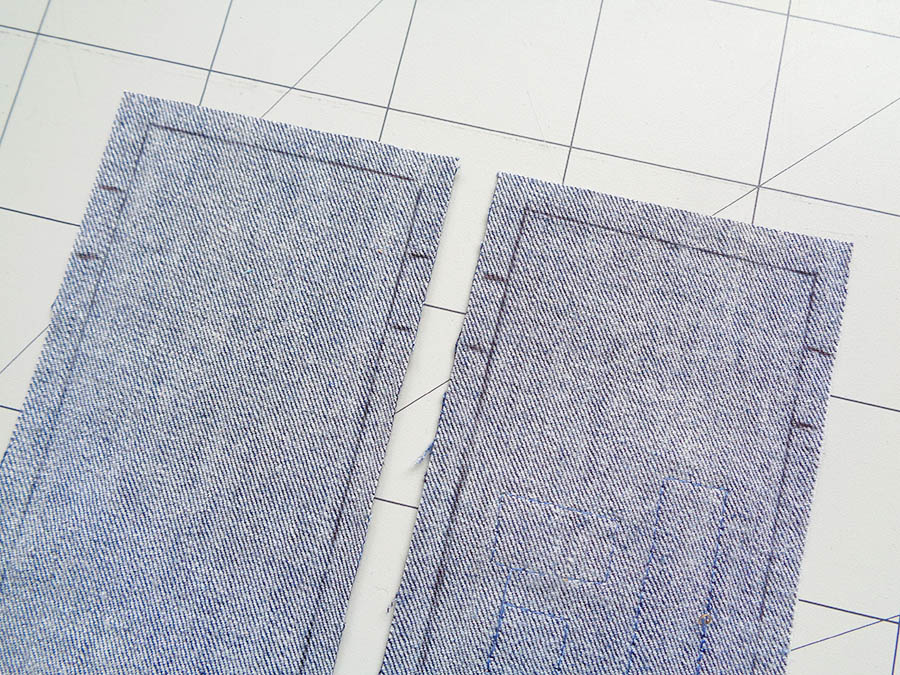
The smaller pouch is good for a pair of standard glasses and the larger pattern is for sunglasses. According to the printable pattern, cut out two denim parts for the outer and two parts for the lining. Add seam allowances at all sides! Try to keep the seam allowances small for this small item, for instance 1/4″ (7mm) is enough.
Decorate the outer of your eyeglasses case with an applique, buttons or anything you think of. Just make sure the décor elements are not too stiff or bulky. Keep the décor within the marked area, keep clear the top and the bottom.
At the back of the denim panels place two marks at each side (as on the paper pattern) for the tunnel of the draw-string:
Sewing it up
Place the lining pieces onto the denim pieces right sides together and tops to tops. Stitch those tops across, securing thread at both ends.

Open them up, press the seams flat towards lining and place the two parts right sides together. Stitch all the way around, leaving spaces for the string tunnel and the bottom in the lining (secure threads at each opening):

Cut off all four outer corners to avoid bulk later when the pouch is turned to the right side.
Using small pieces of the fusible double sided tape, iron the sides of the tunnel folded over:

If you don’t have the special hem tape, just tack in place by hand with a blind stitch. This is for the seams inside to stay in the open position and to look neater later when in use.
Turn to the right side, straighten the corners of the denim body and mark the top of the string tunnel (as marked on paper pattern).

Push the lining into the bag (a ruler helps a lot here ;). Straighten up the top. The top IS the line you have marked – the top of the tunnel.

Top-stitch around the top, at the lower line of the tunnel (near the lining). This is going to be tricky because the pouch is very small. I have found it easier to stitch from the inside and to use the smallest machine foot available. Use matching colour thread. Go slow. If it’s too difficult, top-stitch by hand.

Add beads or a string stopper
You may wonder why do I use two strings? Because this option ties easily by just pulling the strings opposite directions and it keeps the pouch closed without using any stoppers! Surely if you have a tiny string stopper, then you will only need one piece of string and an opening only at one side of the pouch!

For the “pull and self-tie” option of the eyeglasses case the strings should be fed into the tunnel as on the picture below:

Tie one end of the string onto a safety pin and feed all the way around to come out at the same end where it came in. Repeat with the other string but entering at the opposite side.

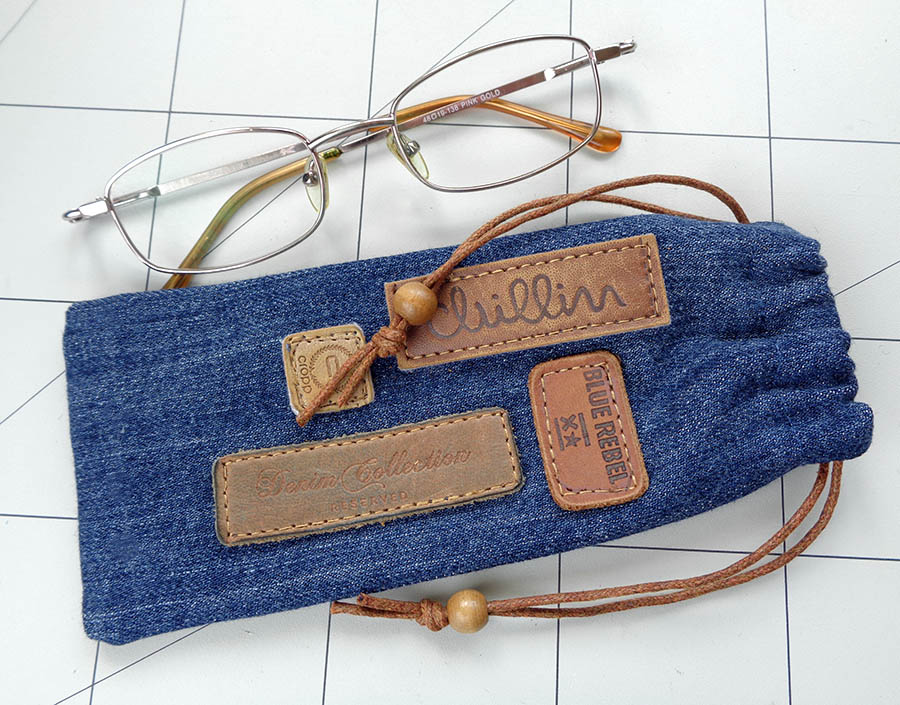
Tidy up the ends of the strings, you can add some beads too!
The pouch is now ready! Just need to stitch up the opening in the lining. But if you are adding the semi-hard plastic insert, do it now, before finishing off the lining.
Note
Did you know that if the ends of your string are fraying and not going through a bead hole, you can dunk them into a melted wax, then press while soft (but not hot) to create tidier ends.

Making plastic insert
This hardening insert for our DIY eyeglasses case is not as strong as what we buy in shop, but it does a great job of protecting your glasses from damage when squashed in a handbag or when fallen down from height.
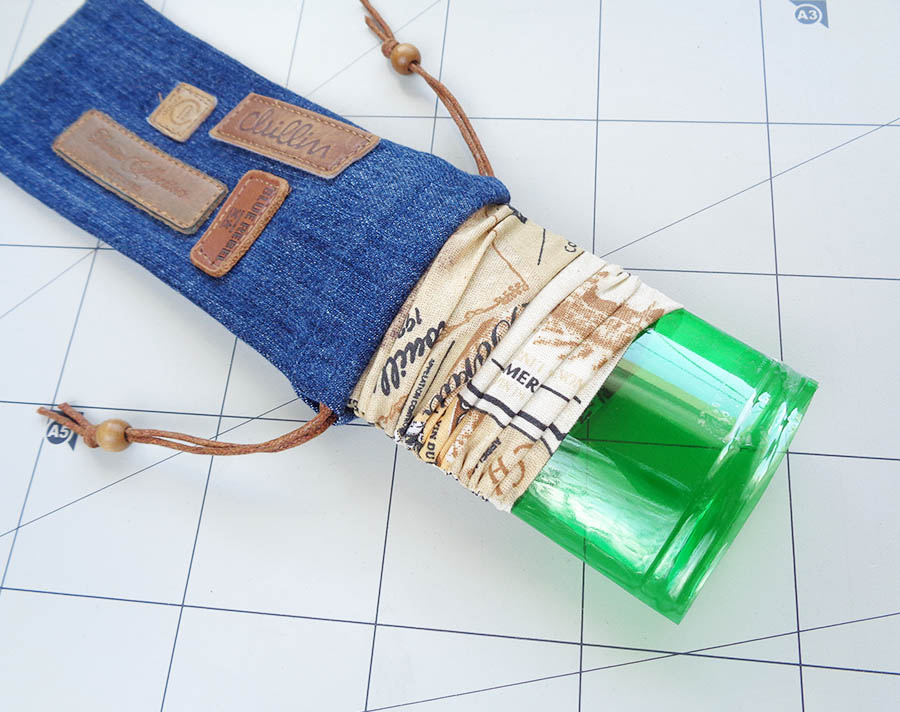
To make this recycled plastic insert you will need a large plastic bottle with straight sides. Let’s say I have here a 2 litres beer bottle where the sides are straight in the middle. The vertical distance of the straight part might be slightly shorter then what we need but it will serve us just as good.
Make a rectangular piece of paper to be your guide. For the smaller glasses case the size is 14,5 x 14,5cm (5 3/4″ x 5 3/4″), for the larger case the size is 17cm (6 3/4″) wide and 14,5cm (5 3/4″) tall. Mark the width and the height for the larger pouch, to avoid confusion later.
With this paper guide on hand, cut the bottle up. To play it safe, first of all (keeping the middle bit of the bottle larger than your paper guide) roughly cut the top and bottom off. Then cut vertically.

Then trim the plastic insert to match the size exactly to the paper guide (remember the height and width for the larger option). If the straight bit of the bottle vertically is only slightly shorter comparing to the paper guide, don’t worry, it will work just as well.

Fold the insert in half very carefully matching the tops and sides. Secure the open side by sticky tape. I recommend using the tape not only along the loose side, but across too. Make it secure enough to not come undone later when in use.

Insert the insert
Through the opening in the lining push the plastic insert all the way into the pouch but not till the very bottom. It could be a bit fiddly at the string tunnel area, because there are a lot of extra fabric inside. You may wish to squash the insert vertically to feed it in easier, it will spring out once in. However if you feel like the insert is no way going in, get it out and trim a tiny bit off the taped side, tape it again and now it should go in. However the tighter the insert sits, the more secure the pouch is.
Once the insert is in, you would feel how much safer the glasses case is!

Fold in the seam allowances at the bottom of the lining. Stitch it up right close to the edge and push the lining into the pouch. Use a ruler to help it settle in 🙂

So, now you know how to make a semi-hard DIY eyeglasses case. It can be a very useful and eco-friendly gift for men and women. It can be personalised by applique using letters or other related motifs. Plus things which are made by hand are much more appreciated and cherished!


Check out more gift ideas that you can make using old jeans >>>

Have you tried making some cool stuff using my patterns and tutorials? I would love to see it and show in my Student’s Gallery! Share it with me – Contact Page.
Why can’t I print the directions to put the eye glass case together ?
Hello, Caroline! To print the pattern click on Download first, then print or save. As for the instructions, you can not print it because it’s a webpage. Have a great day, Kat
Another great idea I am definitely going to make. Thanks
Thank you! Enjoy!
Great idea using the plastic bottle. The only diy I found with a sturdy insert to protect delicate glasses. Thank you for sharing. I did use a different pattern for a case with an open top. This allowed me to slide the insert in between the layers, before closing up the lining. It worked perfectly. Genius idea.
Thank you! I am so happy it was useful!!!
Hey! cute pattern! how did you make the two-tone diagonal denim-khaki one in the picture?
Hi! Thank you for the comment. I simply joined two pieces of fabric… I usually sew fabrics together, making sure they are larger than the pattern piece and only then lay my pattern onto it and cut it out.